The day your new dishwasher arrives feels exciting. The box sits in your kitchen, waiting to make your daily routine easier and cleaner. Yet, before that first wash cycle begins, one essential step stands in your way — connecting the dishwasher to a reliable water line.
Many homeowners hesitate here, assuming water connections require professional plumbers. In reality, with patience and the right guidance, anyone can complete the task safely.
Connecting a dishwasher to a water line isn’t complicated, but it does demand accuracy, preparation, and awareness of every step.
Water is the lifeblood of a dishwasher. Without a proper connection, even the most advanced model will not perform efficiently. A leak or loose fitting can damage floors, cabinets, or electrical parts inside the unit.
This guide will take you through every stage, from understanding how the water system works to testing for leaks once installation is complete.
You’ll learn about the tools required, common mistakes to avoid, and simple maintenance habits that keep your dishwasher performing for years. By the end, you’ll feel confident handling this connection like a professional.
Understanding How Dishwasher Water Connections Work
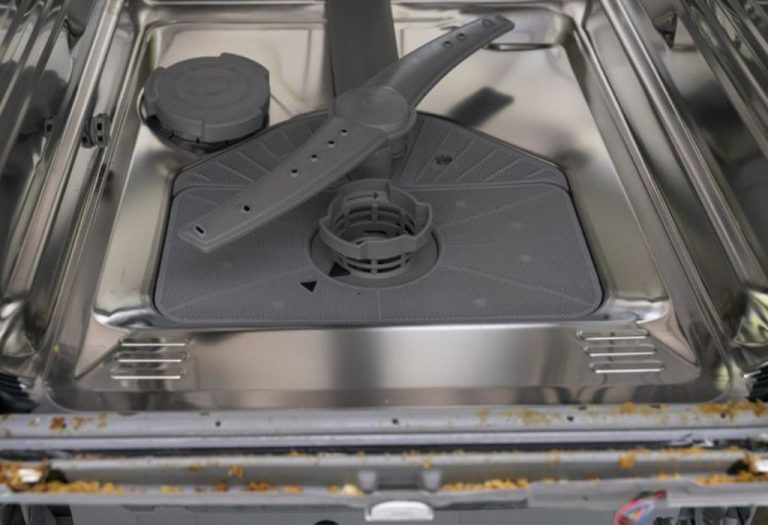
Dishwashers rely on a single water inlet that supplies hot water from your home’s plumbing. The water flows through a flexible line, enters the machine through a solenoid valve, and fills the tub during the wash cycle.
Typically, the water comes from the hot-water supply under the kitchen sink. A shut-off valve controls this line, allowing you to stop the flow when servicing or installing.
The dishwasher’s inlet valve opens automatically during operation to fill the tub and closes once the proper level is reached.
Most models require water between 120°F and 150°F for ideal cleaning performance. Therefore, connecting to the hot-water line instead of cold is crucial. Cold connections result in longer cycles and incomplete detergent activation.
The plumbing connection uses a ⅜-inch compression fitting or dishwasher elbow, depending on the brand. A braided stainless-steel hose or reinforced plastic line carries the water securely.
Understanding this flow system helps you connect everything correctly and avoid leaks or temperature issues later.
Tools and Materials You’ll Need Before Starting
Before you begin, gather every necessary tool and material. Having everything ready ensures the process goes smoothly without multiple interruptions.
You’ll need an adjustable wrench to tighten fittings and a Phillips screwdriver for securing brackets. A bucket or towel should be nearby to catch any residual water from the supply line. Teflon (plumber’s) tape helps seal threaded connections to prevent leaks.
The most important item is a dishwasher installation kit, usually containing the water-supply line, elbow adapter, and compression fittings. Most dishwashers don’t include these parts, so check your purchase box before starting.
Keep a level to ensure the dishwasher sits evenly, preventing vibration and drainage issues. A flashlight can help when working under dark cabinets.
Finally, make sure you know the location of your home’s main water-shutoff valve. Safety comes first, and you’ll need the water turned off before disconnecting any existing line. With tools ready, you can proceed confidently to the actual connection process.
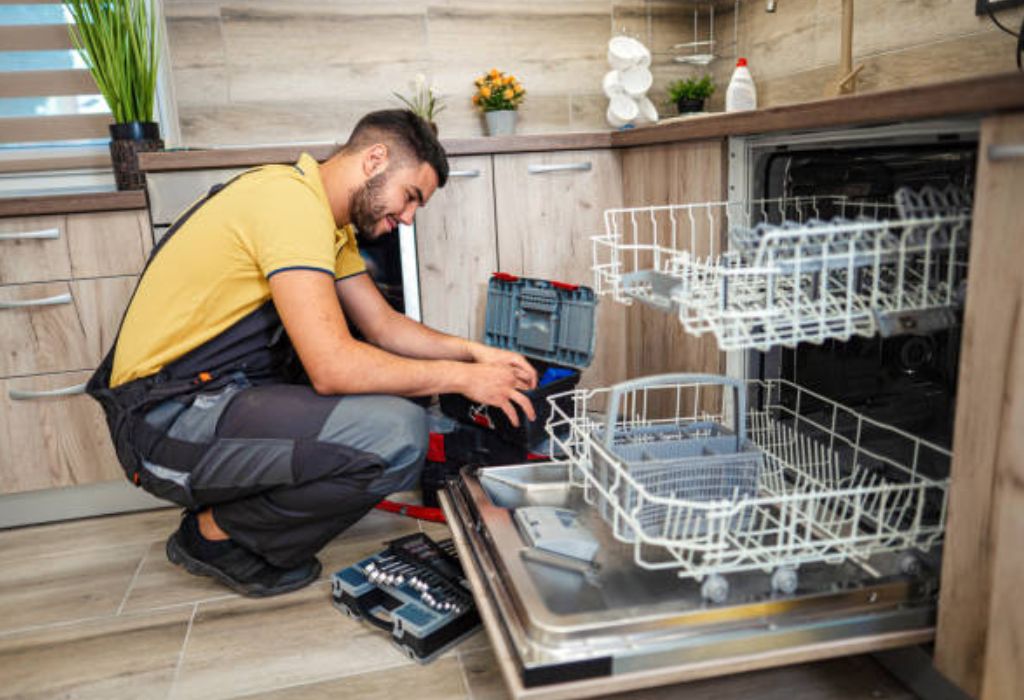
Step-by-Step Guide to Connecting the Dishwasher to the Water Line
This step-by-step guide ensures a secure and leak-free installation.
First, turn off the water supply at the shut-off valve under the sink. Also, unplug the dishwasher’s power cord to avoid any electrical hazard. Place towels underneath the connection area for protection.
Next, remove the access panel at the front bottom of the dishwasher using a screwdriver. Locate the inlet valve, usually on the lower left side. It’s a small metal component with a threaded port for the water-supply line.
Wrap Teflon tape around the threads of the dishwasher elbow fitting, then screw it into the inlet valve. Tighten gently with a wrench, avoiding over-torque that can crack fittings.
Now, connect one end of your water-supply line to the shut-off valve under the sink and the other end to the newly installed elbow fitting on the dishwasher. Use compression nuts to secure both ends tightly.
Once everything is attached, turn on the water slowly and check for leaks around the connections. Tighten as needed, but avoid excessive pressure. When no dripping occurs, the water connection is complete, and you can proceed with drain-line installation.
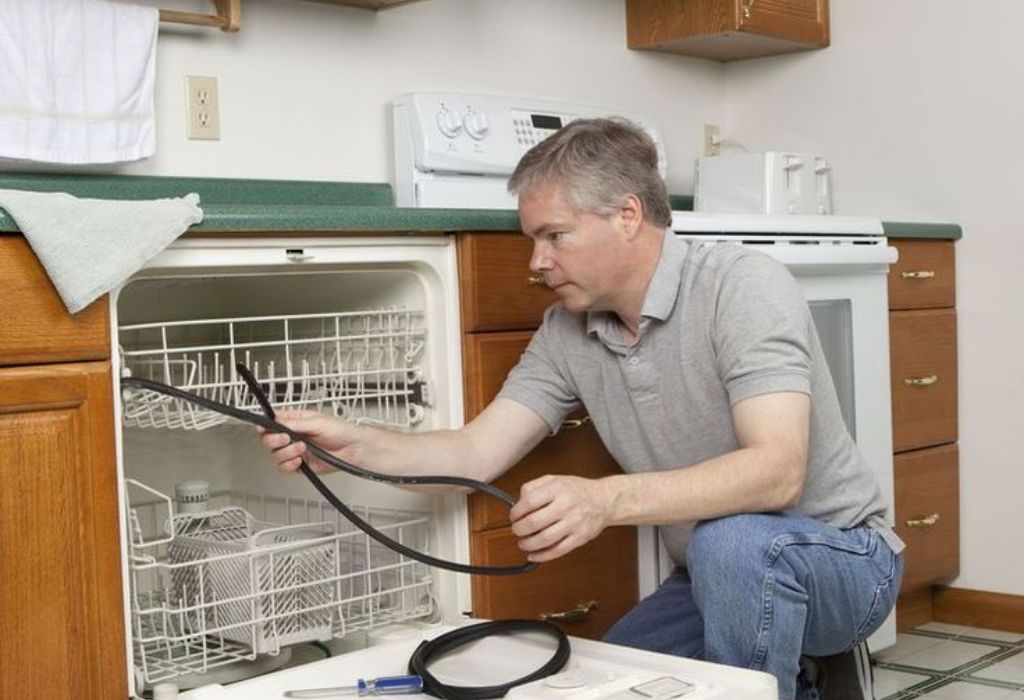
Connecting the Dishwasher Drain Hose Properly
The drain hose is just as critical as the water supply because it removes dirty water after every wash cycle.
Locate the drain outlet on the back of the dishwasher. Attach the drain hose to this port using the provided clamp. Ensure the connection is snug but not overly tight.
Next, feed the hose through the cabinet hole toward the sink drain or garbage disposal. Most installations connect to the sink drain tailpiece just above the trap. If your kitchen has a garbage disposal, connect the hose to the dedicated dishwasher port on the side.
Remember to remove the knockout plug from the disposal port before connecting the hose, or water will not drain properly.
Finally, create a high loop in the hose by securing it under the countertop with a clip or strap. This prevents wastewater from back-flowing into the dishwasher. Properly routing the hose ensures clean operation and eliminates foul odors caused by standing water.
How to Secure the Water Supply Line and Prevent Leaks
Securing the water line is essential for long-term reliability. Even a small drip can cause major damage to flooring and cabinetry over time.
After connecting both ends, double-check that each fitting is aligned straight. A misaligned compression nut can allow water to escape under pressure.
Tighten connections only until snug, then add a quarter turn with your wrench. Over-tightening can strip threads or crush washers, leading to leaks instead of preventing them.
Inspect the rubber gaskets inside each connector; replace them if worn or cracked. Always apply Teflon tape clockwise on male threads before assembling parts.
Once secure, run a test fill by turning the water valve on and observing for drips around all joints. If any appear, tighten slightly or re-seat the fitting.
When the line remains dry for several minutes under pressure, you can safely reinstall the dishwasher’s kick plate and move to final positioning. This careful step ensures peace of mind and dry floors.
Common Mistakes People Make During Installation
Even simple tasks can go wrong if rushed. Knowing the most common mistakes helps you avoid costly repairs.
One frequent issue is using the wrong fitting size. Always check your dishwasher manual for the correct connection type. Using plumbing tape instead of compression washers where not required can cause leaks.
Another mistake is forgetting to turn off the water supply before disconnecting old lines. This can flood your kitchen instantly.
Over-tightening fittings is also common. While it may feel secure, excessive force can deform metal or crack plastic components.
Many installers also skip the high-loop or air-gap setup for the drain hose. Without this, wastewater can siphon back into the dishwasher, leaving dishes dirty and the interior smelling foul.
Lastly, ignoring small drips after installation is dangerous. Even a slow leak can warp wood, cause mold, and damage electrical wiring. Take time to inspect everything carefully before running a full cycle.
How to Test Your Dishwasher After Connecting Water Line
Testing ensures your hard work pays off.
Start by turning on the main water valve and restoring power to the dishwasher. Select a normal cycle and close the door. Listen for the initial fill stage — a steady sound of water flowing inside indicates successful connection.
Open the access panel slightly and inspect all fittings during the first few minutes. If you notice any dripping, pause the cycle and tighten the connection gently.
Let the machine run for ten minutes. Open the door carefully and check the water level inside. The base should hold a small amount of hot water, not overflowing.
Observe the drain cycle later; water should flow freely through the hose without leaks at the disposal or drain connection.
When the cycle completes, examine the floor beneath and around the dishwasher. Everything should remain dry and secure. This thorough test confirms your installation is leak-free and fully operational.
Maintenance Tips to Keep the Water Line in Good Shape
A well-connected water line can last for years, but regular maintenance keeps it safe and efficient.
Inspect connections every few months. Even a small vibration from daily cycles can loosen fittings over time. Tighten gently if you notice moisture or rust.
Clean the area around the valve and hose to prevent debris from interfering with seals. If your region has hard water, mineral deposits can accumulate inside fittings, reducing water flow. Running a vinegar rinse cycle monthly helps dissolve buildup.
Replace the supply line every five to seven years, especially if it’s a plastic or rubber hose. Upgrading to stainless-steel braided lines improves durability and leak resistance.
During cold seasons, ensure nearby pipes are insulated to prevent freezing. A frozen water line can burst and flood your kitchen.
By following these small steps, your dishwasher’s water system remains dependable and safe for the long term.
People Also Ask About Connecting a Dishwasher Water Line
Do all dishwashers need a hot-water connection?
Yes, most dishwashers require hot water for proper cleaning. The recommended range is 120°F–150°F for detergent activation and sanitization.
Can I connect my dishwasher to a cold-water line instead?
While possible, it’s not ideal. Cold water extends cycle times and reduces cleaning efficiency. Some European energy-efficient models can use cold water, but most North American units need hot water.
How tight should the water-line fittings be?
Tighten until snug, then give an extra quarter turn. Over-tightening can damage threads or crush gaskets.
What type of water-supply line is best?
A braided stainless-steel line is safest. It’s flexible, strong, and less likely to burst compared to plastic hoses.
Why does my new dishwasher leak underneath after installation?
Leaks often occur due to loose fittings, cracked hoses, or missing gaskets. Recheck every joint carefully and apply Teflon tape properly.
Can I reuse an old dishwasher water line?
It’s better not to. Old lines may be brittle or corroded. Replacing with a new line ensures a clean and secure seal.
Conclusion
Connecting a dishwasher to a water line may seem intimidating at first, but with careful steps, it’s completely manageable. A secure, leak-free installation ensures your machine operates efficiently and protects your kitchen from water damage.
By understanding how the system works, preparing the right tools, and following each connection method patiently, you gain both confidence and skill. Proper water temperature, tight fittings, and the correct high-loop drainage all contribute to reliable performance.
Most issues arise not from complexity but from haste — skipping tape, ignoring small drips, or misaligning fittings. Taking a few extra minutes to double-check your work saves hours of future repair.
Once your dishwasher runs smoothly, remember that maintenance doesn’t end with installation. Regular inspections, cleaning, and timely hose replacement guarantee lasting performance.
In the end, installing a dishwasher is more than a home project — it’s an upgrade in comfort and convenience. With the right connection, your kitchen gains a trustworthy companion that handles every meal’s aftermath effortlessly, cycle after cycle, for years to come.
I’m Emma J. Caldwell, the founder, lead writer, and home-cooking enthusiast behind KitchenGuideCo.com. With a background in culinary arts and over a decade of cooking experience in both professional and personal kitchens, I created this platform to demystify recipes, offer smart kitchen gadget reviews, and guide readers through meal prep with confidence and clarity.