It usually starts with a simple plan — you’re replacing your old dishwasher with a new one. The new model promises energy efficiency, quieter cycles, and sparkling dishes. But before it arrives, you realize one thing: you need to disconnect the existing water line first.
For many homeowners, that step feels intimidating. Plumbing connections often hide under cabinets, and one wrong move can cause leaks or flooding. Yet the process is straightforward if you understand where the water flows and how the fittings work.
A dishwasher’s water line delivers clean water from your home supply to the machine’s inlet valve. Disconnecting it safely means turning off water pressure, releasing trapped water, and protecting electrical components from moisture.
This guide walks you through each detail. You’ll learn how to prepare the workspace, locate shut-off valves, disconnect fittings without damage, and reconnect the line later. Whether you’re upgrading your appliance or renovating your kitchen, this process ensures a dry, stress-free job.
Understanding Dishwasher Water Connections
Every dishwasher connects to two essential lines — one for water supply and another for drainage. The water line brings clean water from the household plumbing system, while the drain line carries wastewater away.
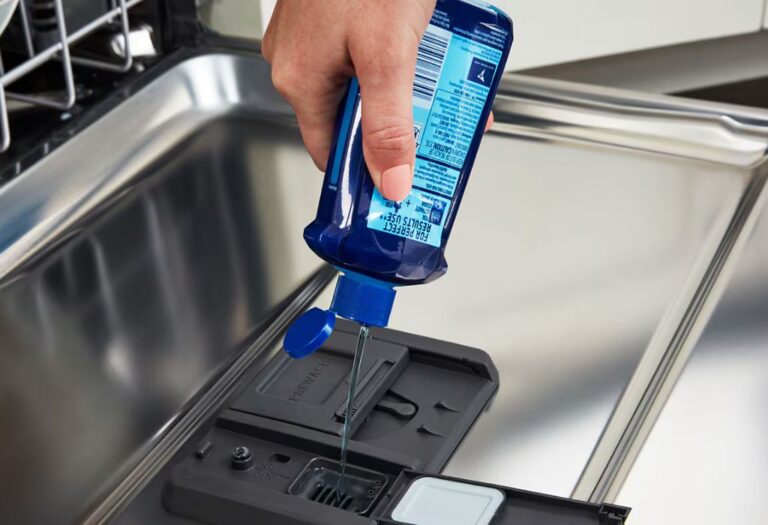
The water supply line is usually a flexible stainless-steel braided hose or copper tubing about 3/8-inch thick. It attaches to the dishwasher’s inlet valve, often located near the lower front corner.
Most installations connect through a small shut-off valve under the sink. Turning this valve clockwise closes the water supply, preventing flow to the dishwasher. Always confirm this valve before starting disconnection work.
The drain line runs separately, connecting the dishwasher to your garbage disposal or sink drain. Mixing these two up can cause serious leaks, so label or trace them visually before unscrewing anything.
Knowing which line carries water helps you avoid mistakes. It’s also crucial to identify whether your connection uses compression fittings or threaded couplers — the tools you’ll need depend on this.
Once you understand the layout, the rest of the disconnection process becomes much easier and safer to handle.
Tools and Safety Preparation Before You Start
Before working on plumbing, preparation is everything. Gather a few basic tools: an adjustable wrench, pliers, a towel, a shallow pan, and a bucket. A flashlight helps illuminate tight spaces under the sink.
Safety begins with turning off power to the dishwasher. Locate the circuit breaker and switch it off to avoid electrical hazards when handling wet areas.
Next, close the water shut-off valve completely. If your sink doesn’t have a dedicated valve for the dishwasher, you may need to turn off the main water supply to your home.
Place towels or an absorbent mat under the connections. A small amount of water will spill out when you loosen fittings, so prepare for minor drips.
Wearing rubber gloves can protect your hands from sharp metal edges or mineral buildup around fittings. If your dishwasher has been in place for years, expect some stiffness in the connections.
Check that the floor space around the appliance is clear. Remove cleaning supplies, trash bins, or mats that could get in the way.
Once everything is secure and dry, you’re ready to locate and disconnect the water line confidently.
Locating the Dishwasher Water Line Connection
The water line usually connects to your dishwasher at the inlet valve, which sits underneath the machine behind the front kick plate or toe panel.
Remove the panel by unscrewing the small screws along its top edge. This will expose the metal or plastic housing underneath where the line connects.
Follow the flexible water supply hose from the shut-off valve under your sink. It should lead directly to the dishwasher inlet.
Most homes use a short elbow fitting that connects the hose to the inlet valve. The fitting may be brass or copper and requires a wrench for loosening.
If your dishwasher is built in, you might need to slide it forward slightly to access the connection point. Do this carefully to avoid bending or pulling the line.
Keep your bucket or pan ready beneath the connection area. Once you disconnect the hose, any residual water trapped inside will drain out.
At this stage, double-check that power and water are both turned off before loosening anything further.
How to Disconnect the Dishwasher Water Line Step-by-Step
Start by placing a towel and shallow pan under the water line connection to catch drips. Using an adjustable wrench, loosen the nut that connects the supply hose to the shut-off valve under the sink.
Once the nut loosens, gently pull the line free. Allow any remaining water to drain into your pan. Move slowly to avoid stressing the copper or stainless-steel tubing.
Next, locate where the same line connects to the dishwasher’s inlet valve. Use pliers or a wrench to loosen this end as well. Hold the fitting steady while turning the nut counterclockwise.
When the hose is free, inspect it for wear or cracks. If you plan to reuse it for a new dishwasher, ensure it’s in good condition. Otherwise, it’s best to replace it with a new stainless-steel line.
If the connection feels stuck, apply a small amount of penetrating oil and wait a few minutes before retrying. Never force fittings — excessive pressure can damage the valve or threads.
After the line is fully disconnected, tilt it toward your pan to drain any trapped water. Wrap both ends in a dry cloth to prevent dirt or dust from entering.
Congratulations — you’ve successfully disconnected your dishwasher’s water line without flooding or damage.
Common Mistakes to Avoid During Disconnection
Many homeowners accidentally forget to turn off the power before starting, creating an electrical hazard near wet connections. Always cut electricity first.
Another common mistake is failing to shut the water valve completely. Even partial pressure can spray water when the line disconnects. Turn it tightly clockwise.
Avoid pulling the dishwasher too far without checking line lengths. Stretching or bending the hose can cause leaks later when reconnecting.
Using the wrong wrench size often strips the fittings. Adjustable pliers or a properly sized wrench provide the safest grip.
Do not reuse an old, brittle rubber gasket if you plan to reconnect the line. Replacing small seals prevents drips and pressure loss.
Never use Teflon tape on compression fittings; it can interfere with proper sealing. Only use it on threaded connections if needed.
Finally, skipping a towel or drip pan might sound harmless until water spreads under your cabinets. Always prepare for small spills in advance.
Checking for Leaks After Reconnection
Once you’ve installed or replaced the dishwasher, reconnect the new or cleaned water line and tighten the fittings securely. Then reopen the shut-off valve slowly.
Watch for moisture or small drips at both ends of the line — near the sink valve and the dishwasher inlet. Even a slow leak can damage flooring or cabinets over time.
If you see bubbling or dripping, tighten the nut gently another quarter-turn. Avoid over-tightening, as it can crush washers or deform metal threads.
Run the dishwasher’s first cycle while inspecting the connection points. Use a flashlight to look for any water buildup underneath.
Check again an hour later to ensure no delayed seepage occurs. Many leaks appear gradually after pressure builds inside the hose.
If you replaced the line entirely, write down the date. Most stainless hoses last about 5–7 years before needing inspection or replacement.
Taking these checks seriously ensures long-term performance and prevents future plumbing surprises.
When to Call a Professional Plumber
Sometimes DIY repairs can lead to complications, especially in older homes. If you notice rusted fittings, corroded pipes, or persistent leaks, call a licensed plumber.
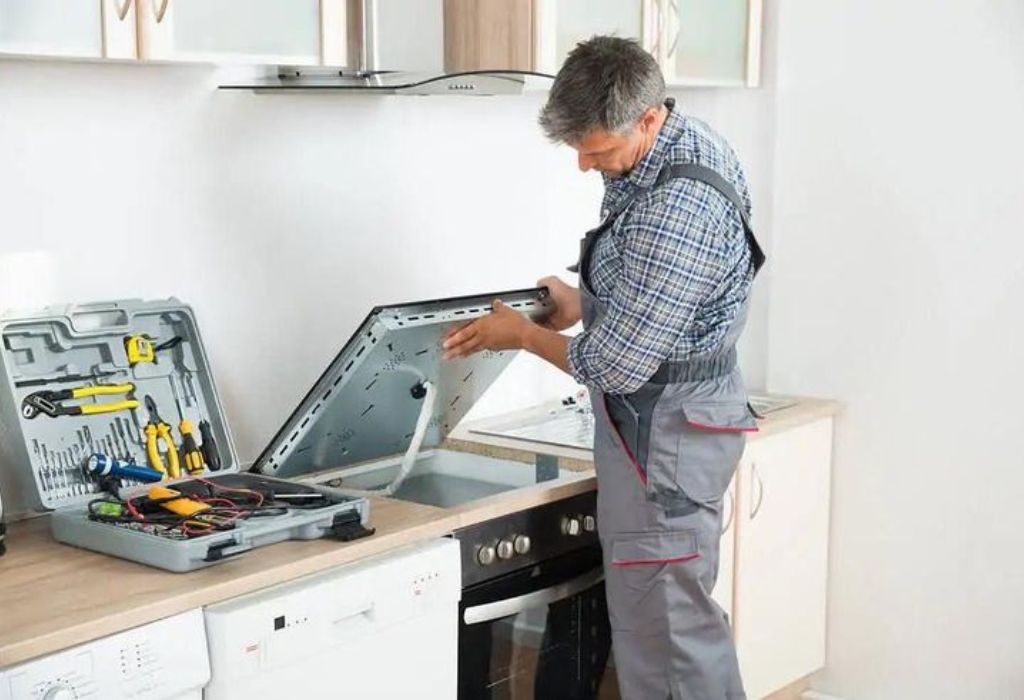
A professional can safely remove old compression fittings and install new valves without damaging your plumbing system.
If your shut-off valve doesn’t close completely or keeps leaking even when tightened, replacement is necessary. Professionals carry the correct parts and tools to handle it quickly.
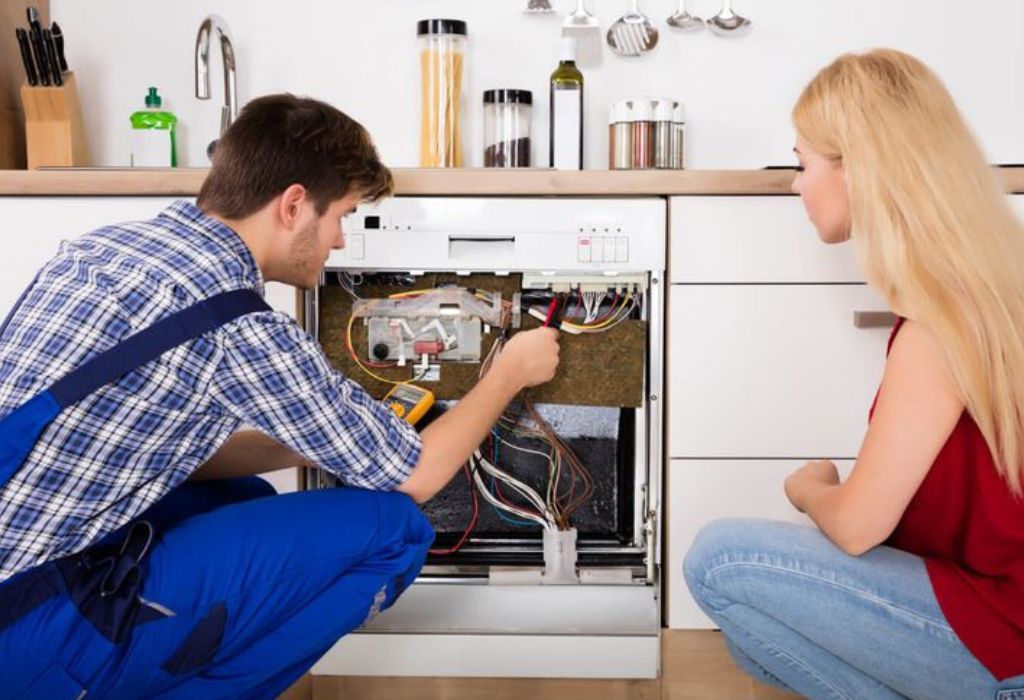
Electrical issues, such as exposed wires near the dishwasher base, should never be handled without expertise. Always let a technician inspect them before proceeding.
Dishwashers installed in tight cabinetry may have hidden fittings behind panels or floor trims. Forcing them can cause water damage. A plumber can remove these panels safely.
Hiring a professional might seem costly, but it prevents expensive repairs caused by hidden leaks or broken fittings.
If you’re installing a new dishwasher after disconnection, professional installation ensures warranty compliance and long-term safety.
Dishwasher Disconnection Questions Every DIYer Should Read
Do I need to turn off both the water and power before disconnecting?
Yes. Always shut off the water valve and switch off the circuit breaker to ensure complete safety.
Where is the dishwasher water line usually located?
It runs from the shut-off valve under your sink to the inlet valve underneath the dishwasher.
Can I reuse the old water line for a new dishwasher?
Only if it’s a stainless-steel braided hose in perfect condition. Otherwise, replace it to avoid leaks.
How can I tell if my shut-off valve is closed?
Turn the handle clockwise until it stops firmly. Test by running the tap — no water should flow.
What tools are needed for disconnecting the water line?
You’ll need an adjustable wrench, pliers, a towel, flashlight, and a shallow pan.
Should I drain the dishwasher before disconnecting?
Yes. Run a short cycle or press cancel to pump out leftover water before starting.
What if the fitting is stuck and won’t turn?
Apply a few drops of penetrating oil and wait several minutes before trying again gently.
Can I disconnect the water line without moving the dishwasher?
In most cases, you’ll need to slide it a few inches forward to access the inlet valve safely.
Is it normal for a little water to spill during disconnection?
Yes, a small amount is expected. Use towels or a pan to collect the residual water.
Can I use Teflon tape on the fittings?
Use it only on threaded connections — not on compression fittings, which seal differently.
How do I know which line is for water and which is for drainage?
The water line connects to the shut-off valve; the drain line connects to your sink or disposal.
Should I replace the rubber washer when reinstalling?
Yes, always replace the washer to ensure a tight, leak-free seal.
What happens if I forget to close the water valve?
Pressurized water may spray out immediately, causing flooding under your sink.
Can I disconnect the water line while the dishwasher is running?
Never. Wait until the cycle finishes, power is off, and water supply is closed.
When should I replace the dishwasher hose entirely?
Replace it every 5–7 years or immediately if you notice cracks, rust, or corrosion.
Conclusion
Disconnecting a dishwasher water line may seem complicated, but it’s a manageable DIY task with patience and preparation.
Turning off power, shutting the water supply, and using the correct tools ensure a smooth process without leaks. Understanding fittings and hose types helps prevent mistakes that cause future problems.
Always inspect the line and washers before reconnecting or replacing your appliance. A few extra minutes of caution can save you hours of cleanup later.
If you ever feel unsure, calling a professional plumber guarantees the job is done safely and correctly.
By following these steps, you’ll protect your kitchen, prevent water damage, and make way for a seamless dishwasher installation or repair.
Confidence grows when you understand each connection — and this knowledge keeps your home running safely and efficiently for years to come.
I’m Emma J. Caldwell, the founder, lead writer, and home-cooking enthusiast behind KitchenGuideCo.com. With a background in culinary arts and over a decade of cooking experience in both professional and personal kitchens, I created this platform to demystify recipes, offer smart kitchen gadget reviews, and guide readers through meal prep with confidence and clarity.