Standing water in a dishwasher is annoying and a little worrying, but in most homes it traces back to a short list of fixable problems. Food particles collect in the filter and sump. The garbage disposal connection clogs.
The drain hose kinks behind the cabinet. The air gap fills with gunk. Less often, the drain pump is jammed or failing.
The solution is a calm, stepwise process that removes the water safely, clears the path, and proves the fix with a simple drain test.
This guide takes you through that process in clear, practical steps. You will start with safety and preparation, then bail or vacuum the water so you can see what you are doing.
You will clean the filter and sump, check the disposal inlet and air gap, then inspect and flush the hose from end to end. If the pump needs attention, you will test it correctly and decide whether a jam or a faulty part is to blame.
Along the way you will learn small habits that prevent the issue from returning. A clean filter, a smooth high loop on the drain hose, and a quick disposal flush before every cycle go a long way.
With patient, methodical work, most kitchens are back to normal in one session, without a service call.
Safety First and Smart Preparation
Before any water handling or disassembly, cut power to the dishwasher. Unplug the cord in the sink cabinet if you can reach it. If the plug is hidden, switch off the correct circuit breaker.
You will be working around wet parts and a pump that can start automatically, so removing power keeps the task safe.
Turn off the dishwasher’s water supply valve under the sink if you plan to handle hoses. This prevents accidental leaks while you inspect the drain line or remove the air gap.
Place old towels on the cabinet floor and keep a shallow pan or small bucket within reach. Even simple checks can release trapped water.
Protect your hands and eyes. Wear rubber gloves to handle wet debris and sharp fragments that sometimes settle in the sump, like glass chips or bones. A flashlight helps you see into the dark corners near the filter and along the cabinet back where the hose runs.
Have your phone ready for quick photos of hose routing and clamp positions. Photos make reassembly easy and accurate.
Organize screws and small parts in a cup or a magnetic tray so nothing goes missing. Label any parts you take off with painter’s tape to remember their orientation. Good preparation saves time and keeps stress low while you move through the steps.
Tools and Supplies You Will Actually Use
You do not need a toolbox full of specialty gear. A Phillips screwdriver and a flat screwdriver cover most panels and clips.
An adjustable wrench and tongue-and-groove pliers help with stubborn hose clamps and the air gap fittings. A basic nut driver set can be handy for some pump or filter guards.
For water removal, start with a plastic cup and a small container to bail the shallow pool. A wet or dry vacuum makes the job much faster once the level is low. Fit a narrow crevice attachment to reach into the sump edges. Keep a roll of paper towels or microfiber cloths for quick wipe downs.
Cleaning tools are simple. An old toothbrush scrubs filter mesh. A small bottle brush reaches inside the air gap and hose ends. Wooden toothpicks or a plastic pick clear spray arm holes if you decide to tidy them while you are in there. Avoid metal picks that can damage soft plastic.
Consumables are minimal. A mild dish detergent works for filter cleaning. If you live with hard water, a dishwasher cleaner or descaler is useful for a maintenance run after the repair.
Keep a few new stainless worm-gear clamps on hand in case a clamp is rusted or strips while you loosen it. With these basics, you can complete every step in this guide.
Remove Standing Water Quickly and Cleanly
Begin by opening the door fully and sliding out the bottom rack. Set it aside on a towel. Use a cup to scoop water from the lowest areas of the tub into a bucket. Work slowly around the filter cover so you do not push debris deeper into the sump. The first liter or two clears fast.
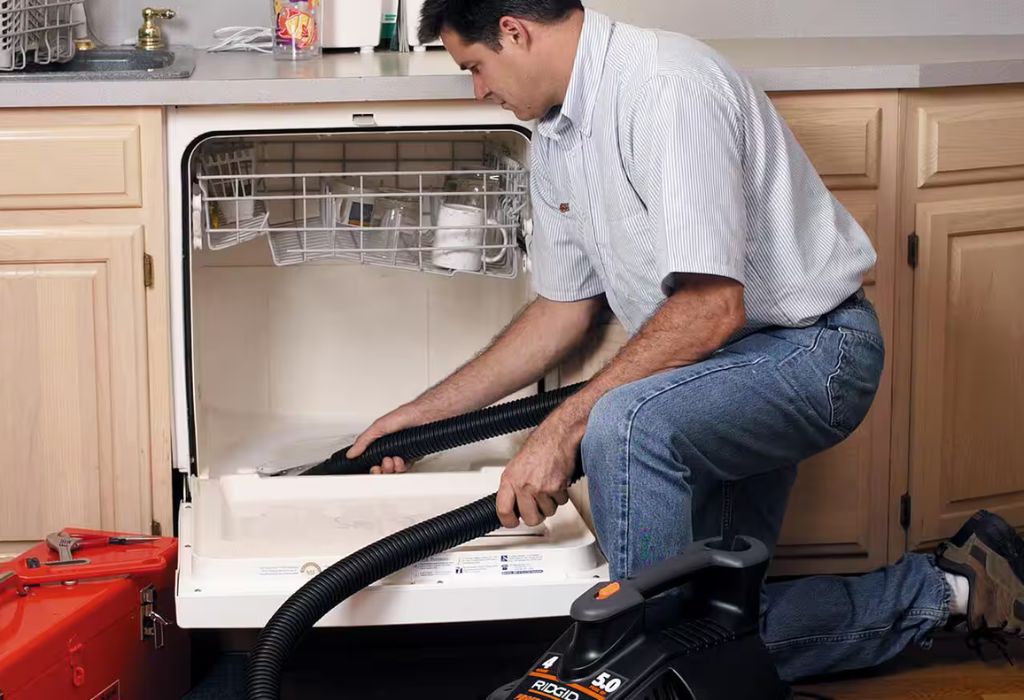
When only a thin layer remains, switch to a wet or dry vacuum. Seat the nozzle gently at the sump edge and along the side channels where water pools. Vacuum until the tub is nearly dry. This makes the next steps cleaner and reveals what is blocking flow. If you do not have a vacuum, continue bailing with a folded towel to wick out the last puddles.
Resist the urge to pour hot water into the tub to “flush” the blockage. With the path obstructed, you may flood the cabinet or send debris deeper.
The goal is to expose parts and remove solids by hand. A clean, nearly dry work area keeps screws and clips from slipping and helps you see hair, seeds, labels, and other small culprits that trigger drain problems.
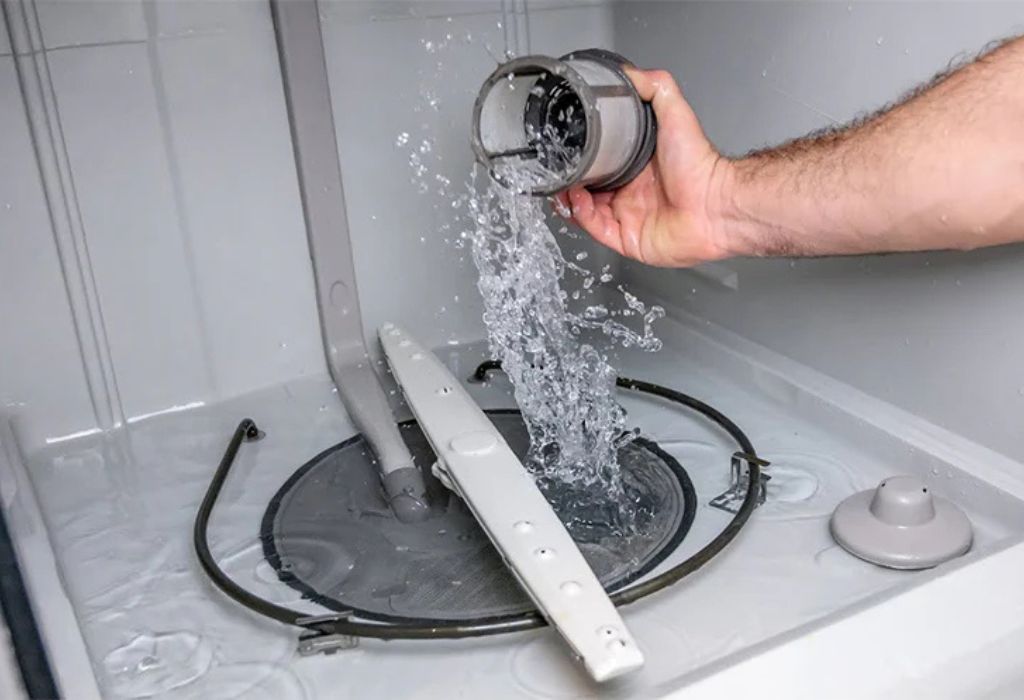
Open the Sump and Deep-Clean the Filter
The filter is the gatekeeper for your drain path. Most machines use a two-stage design. A cylindrical fine mesh filter twists out first, followed by a flat coarse screen. Lift both carefully to avoid dumping trapped debris back into the sump.
Rinse the filters under warm running water. Use a soft brush to free sticky film and grease from the mesh. Hold the parts up to the light. If light does not pass clearly through the screen, scrub again. While the filters soak, shine a flashlight into the sump opening.
Pick out visible debris with gloved fingers or plastic tweezers. Look for fruit labels, pasta, rice, bone shards, and glass flecks. These are common offenders that lodge near the drain port.
Some models include a small guard over the pump inlet held by one or two screws. If yours does, remove the screws, lift the guard, and check the impeller cavity.
Rotate the impeller gently with a plastic tool. It should turn freely without scraping. Clear string, twist ties, or fragments if present.
Refit the guard securely, then reseat the coarse screen and twist-lock the fine filter until it clicks. A properly seated filter prevents future bypass and keeps new debris from reaching the pump.
Clear the Garbage Disposal Inlet and Sink Tee
Many dishwashers drain through the side inlet on a garbage disposal. If you recently installed a disposal and never removed the internal knockout plug, the dishwasher cannot drain at all. Even in older installs, that inlet often clogs with grease and pulp.
Loosen the clamp where the dishwasher hose connects to the disposal. Pull the hose free and aim it into a small bucket. Inspect the disposal’s side inlet with a flashlight. Remove the plastic knockout disk if it is still there.
If the inlet is coated with sludge, scrape it clean and flush the disposal with cold water while running it for ten seconds. This clears the chamber and the impeller of soft buildup.
If your dishwasher drains to a sink tailpiece instead of a disposal, the small tee can clog in the same way. Loosen the clamp, remove the hose, and clear the barb with a bottle brush. Reattach the hose but leave the clamp a bit loose for now.
You will test flow in a later step before final tightening. A clean, open inlet prevents back pressure that sends water back into the tub.
Inspect and Clean the Air Gap or High Loop
Look on the sink deck for a small chrome or plastic cylinder. That is the air gap. It prevents dirty sink water from siphoning back into the dishwasher. Air gaps collect grease and food threads that block flow. Pop off the decorative cap and the inner cover.
Use a pipe cleaner or small brush to loosen gunk in the chamber while you trickle warm water down the opening. Keep a towel nearby. The loosened debris will come out at the side port.
If your setup does not use an air gap, the drain hose must rise into a high loop under the countertop before dropping to the disposal or sink tee.
This loop blocks backflow. Confirm the hose rises as high as possible and is secured to the underside of the counter with a clip. A sagging loop invites sink water to wash back into the tub and leaves standing water after cycles.
While you are in the cabinet, trace the hose end to end. Straighten kinks, relieve tight bends, and move bins or cleaners that press the hose against sharp edges. A smooth path with a correct high loop or a clean air gap is a primary defense against future standing water.
Flush the Drain Hose End to End
With the hose still loose at the sink side, lower it into a bucket. If you have a wet or dry vacuum, seal the nozzle to the hose end and pull air for several seconds. You may hear a soft rattle as debris moves. Follow with a warm water flush poured into the hose to check for a clear stream.
If you suspect a clog mid-run, disconnect the hose at the dishwasher end as well. Take photos for routing and clamps first. Carry the hose outside or to a tub and run warm water from a showerhead through it.
A narrow, flexible bottle brush helps with sticky sludge. Replace the hose if it is collapsed, brittle, or cracked. Hoses are inexpensive and a fresh one removes doubt.
Reinstall the hose at the dishwasher and the sink, confirm the high loop or air gap is correct, and snug the clamps. Do not overtighten to the point of cutting the hose.
A firm, even seal is all you need. A fully flushed hose eliminates one of the most common causes of persistent standing water.
Test the Drain Pump the Right Way
Restore power at the outlet or breaker. Close the dishwasher door and select Cancel or Drain if your control panel offers it. Many models start the drain pump immediately and run it for a minute or two. Listen closely.
A healthy pump makes a steady hum or soft whir. Water should discharge into your bucket or down the disposal inlet with good flow.
If you hear the motor but see weak or no flow, the impeller may still be jammed or the hose is not truly clear. Cut power again and recheck the sump and hose routing. If you hear nothing at all, the pump may not be receiving power or the winding is open.
Access to the pump from the front toe-kick or bottom panel varies by model. If you are comfortable, remove the lower panel, inspect for obvious obstructions, and check the pump connector for a secure fit.
Many jams resolve with a full clean of the sump and a complete hose flush. If the pump hums loudly and then trips a safety or smells burned, stop and consider a replacement pump. They are straightforward on most models and restore normal draining when a motor has failed.
Run a Controlled Rinse and Drain Proof Test
After you have cleared the path, run a small proof test. Place the bottom rack back in. Pour about one liter of warm water into the tub so the sump is covered.
Close the door and start a rinse-only cycle or a quick wash, then cancel after thirty to sixty seconds to trigger the drain phase.
Watch and listen at the sink connection. You want a strong, continuous stream into the disposal or sink tee. Inside the dishwasher, the tub floor should finish nearly dry, with only a thin sheen near the sump.
Open the door and sniff. The sharp, sour odor of old water should be gone, replaced by a neutral or clean scent.
If the test succeeds, tighten all clamps, wipe the cabinet dry, and remove towels. If the test fails, repeat the checks in this order. Filter and sump clear. Disposal inlet open.
Air gap clean and cap seated. Hose smooth with a true high loop. Pump humming and moving water. This sequence catches almost every cause of standing water without guesswork or parts swapping.
Prevent the Problem From Returning
Three habits prevent most backups. Clean the filter monthly under warm water. It takes two minutes and keeps flow high through the sump. Run the garbage disposal with cold water for ten seconds before starting the dishwasher.
This clears the shared outlet so the dishwasher has somewhere to send its water. Confirm the hose still has a high loop and nothing in the cabinet is pressing it into a kink.
Adjust loading and prep slightly. Scrape solids into the trash rather than the sink. You do not need to pre-rinse, but avoid sending peels, seeds, toothpicks, or string into the machine.
These items lodge in the sump and pump cavity. Place small lids and utensils in the cutlery rack or a mesh cup so they cannot slip under the filter.
Once a season, run a maintenance cycle. Use a dishwasher cleaner or a manufacturer-approved descaler if you have hard water. This removes film and mineral scale that slow flow and trap odors.
Check spray arms for blocked nozzles while you are there. Clear holes with a wooden toothpick and rinse. A clean machine drains faster, smells better, and finishes cycles without surprises.
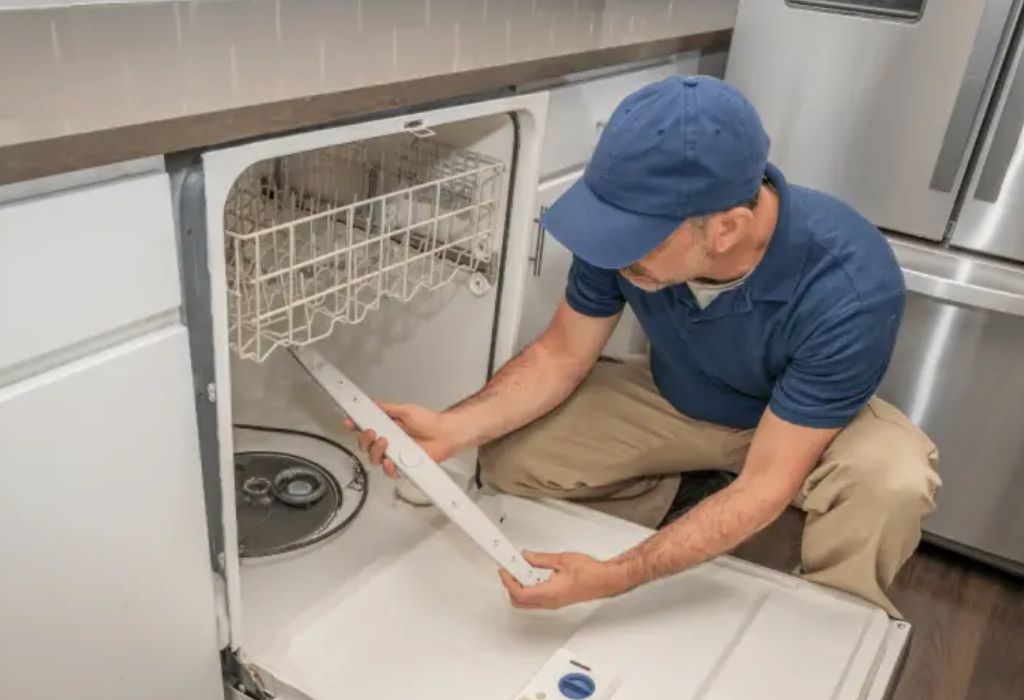
When to Call a Professional
Call a technician if the machine still leaves standing water after you have cleaned the filter, flushed the hose, cleared the air gap, and confirmed the disposal inlet is open.
Persistent failures often point to a failing drain pump, a stuck check valve, a bad inlet valve that is refilling after drain, or a control board fault. These issues are diagnosable, but require electrical tests and manufacturer parts.
Also call if you see leaks under the tub, scorched connectors, or melted hose sections. Safety comes first, and professional repair avoids cabinet damage or electrical hazards. If your dishwasher is very old, noisy, and inefficient, a replacement may be the wiser choice.
Modern machines meter water carefully and drain aggressively, which reduces the chance of future backups when paired with the habits in this guide.
A good technician can confirm your work, replace a weak pump, and verify that sensors and valves respond correctly. Once repaired, continue the simple maintenance steps. You will spend far less time thinking about drainage and more time enjoying a machine that just works.
Clear Answers for Stuck-Drain Emergencies
Why is there standing water in my dishwasher after a cycle?
Most often a clogged filter, blocked disposal inlet, kinked drain hose, dirty air gap, or a jammed drain pump is to blame.
Is a little water in the bottom normal?
A thin puddle over the sump can be normal. Pools covering the floor of the tub are not and indicate a drain issue.
What should I check first?
Cut power, remove the bottom rack, bail the water, clean the filter and sump, then check the disposal inlet and air gap.
Do I need to remove the knockout plug on a new disposal?
Yes. If the knockout in the disposal’s side inlet isn’t removed, the dishwasher cannot drain at all.
How do I know if my drain hose is the problem?
Look for kinks, crushed spots, or clogs. Ensure the hose has a proper high loop under the counter or connects to an air gap.
What is an air gap and why does it matter?
It’s a small device that prevents dirty sink water from back-siphoning. When it’s clogged, the dishwasher won’t drain well.
My pump hums but no water comes out. What now?
The impeller may be jammed or the hose still blocked. Power off, recheck the sump for debris, and flush the hose end-to-end.
The pump is silent during drain. Is it dead?
Possibly. It could be a failed pump, loose connector, or control issue. After basic checks, consider a technician.
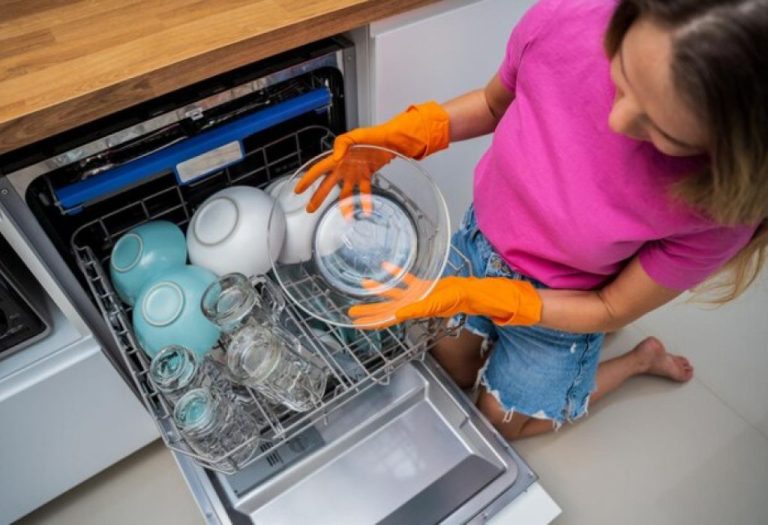
Can I use a wet/dry vacuum to remove standing water?
Yes. Bail first with a cup, then use the vacuum at the sump edge to clear the last puddles safely.
Should I pour boiling water into the tub to clear clogs?
No. You risk pushing debris deeper or damaging parts. Manually clear the filter, sump, air gap, and hose instead.
Do I need to pre-rinse dishes to prevent clogs?
No. Scrape solids into the trash. Avoid seeds, labels, bones, and stringy scraps that can reach the sump and hose.
How often should I clean the filter?
Monthly for most homes. Heavy use or frequent baking/cooking may require a quick rinse every couple of weeks.
What quick test proves the drain is fixed?
Add about a liter of warm water, run rinse, then cancel to trigger drain. You should see a strong discharge and a nearly dry tub.
When should I call a professional?
If standing water persists after cleaning the filter, hose, air gap, and disposal inlet, or if you suspect a failed pump or valve.
How do I keep this from happening again?
Rinse the filter monthly, run the disposal 10 seconds before each cycle, keep a proper high loop or clean air gap, and avoid hose kinks.
Conclusion
Standing water in a dishwasher looks serious, but most causes are simple and local. Remove power, bail the tub, and clean the filter and sump. Open the disposal inlet or sink tee and clear it. Clean the air gap or set a true high loop.
Flush the hose from end to end. Test the pump and prove the fix with a short rinse and drain. This order is deliberate and efficient. It clears obstructions from the inside out and prevents you from chasing the same debris in circles.
Keep the win with light, regular care. A monthly filter rinse, a quick disposal run before every cycle, and a fast look at the hose routing are enough for most homes.
Avoid sending seeds, labels, or string into the machine. Use racks to keep small items out of the sump.Run an occasional maintenance cycle to keep scale and film away from the pump and passages.
If despite your efforts the tub still fills and sits, seek a professional diagnosis. Pumps fail, valves stick, and control boards age.
Replacing a weak part restores the strong, steady drain you expect. Once the system is sound, your clean habits keep it that way. With a calm approach and the steps here, you can drain the water fast, fix the cause, and prevent the next backup before it starts.
I’m Emma J. Caldwell, the founder, lead writer, and home-cooking enthusiast behind KitchenGuideCo.com. With a background in culinary arts and over a decade of cooking experience in both professional and personal kitchens, I created this platform to demystify recipes, offer smart kitchen gadget reviews, and guide readers through meal prep with confidence and clarity.