Cleaning a coffee maker with vinegar is one of the simplest ways to remove mineral buildup, stale oils, and odors that develop inside the machine over time.
Many people notice their coffee tasting bitter, weak, or metallic without understanding that a dirty machine is the cause. Regular cleaning restores the flavor and keeps your coffee maker running efficiently.
Most coffee makers accumulate limescale from water minerals, especially if you live in an area with hard water.
These deposits block water flow, reduce brewing temperature, and affect the taste of every cup. Vinegar helps dissolve this buildup so the machine can brew at full strength again.
Many people struggle to know the correct amount of vinegar to use when cleaning. Too little vinegar does not descale properly, but too much creates an overpowering smell that lingers in the machine. The right balance gives you a clean coffee maker without unnecessary odor.
Using vinegar the right way can extend the life of your coffee maker and improve the taste of your daily cup.
Understanding the ideal ratio, rinse cycles, and timing ensures a thorough and safe cleaning. This guide shows you exactly how much vinegar to use and how to clean your machine step by step.
Why Vinegar Works for Cleaning a Coffee Maker
Vinegar contains acetic acid, which is strong enough to dissolve mineral buildup inside the coffee maker. These minerals come from water hardness and collect inside the heating element, tubes, and reservoir. As the buildup increases, the machine’s performance begins to decline.
The acidic nature of vinegar breaks down calcium and magnesium deposits. These minerals restrict water flow and reduce brewing temperature if left untreated. Removing them restores efficiency and flavor.
Vinegar also removes old coffee oils that cling to the internal surfaces of the machine. These oils create bitterness in every new brew. Cleaning them out improves taste considerably.
Vinegar is safe for most coffee makers because it is gentle yet effective. It cleans without damaging plastic or metal components when used correctly. This makes it a common household choice for descaling.
Using vinegar is more affordable than commercial descaling solutions. Many households already have vinegar in their kitchen, making it convenient for regular cleaning. The low cost allows for frequent maintenance.
Cleaning regularly with vinegar prevents long term buildup. This keeps your coffee maker working better for longer. A well maintained machine consistently brews better tasting coffee.
Understanding the Right Vinegar to Water Ratio
The most common and effective ratio for cleaning a coffee maker is one part vinegar to one part water.
This fifty fifty mixture provides enough acidity to dissolve mineral buildup without damaging internal components. It is strong enough for deep cleaning but gentle enough for regular use.
If your coffee maker has heavy limescale, you can use stronger vinegar concentration. A ratio of two parts vinegar to one part water increases acidity for tougher buildup. This stronger solution cleans older or heavily used machines more effectively.
For light cleaning or routine maintenance, a weaker solution works well. Mixing one part vinegar with two parts water provides a mild cleaning effect. This is ideal for machines that are cleaned regularly.
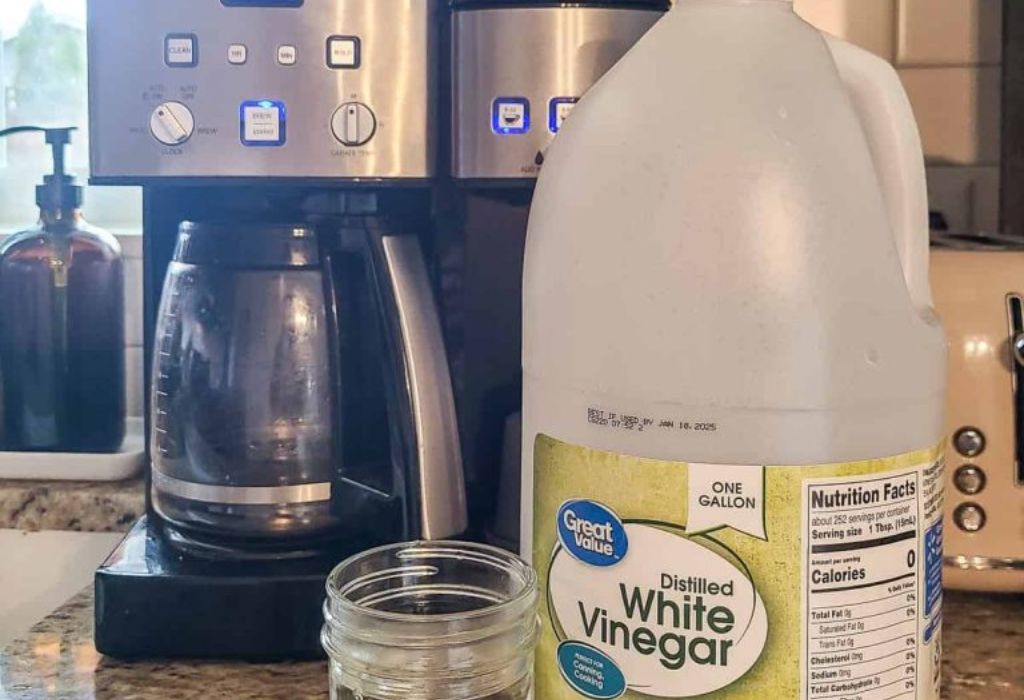
Always use white distilled vinegar for cleaning. Other types of vinegar contain flavors, colors, and sugars that can leave residue. White vinegar is the purest and safest option.
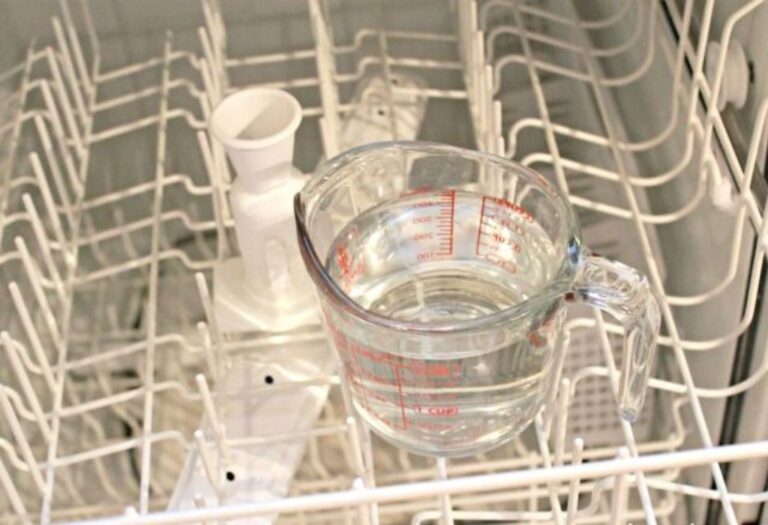
Measure the solution carefully to fill the entire reservoir. Filling it completely ensures vinegar reaches all internal tubes. Proper coverage is essential for thorough cleaning.
Using the right ratio prevents lingering vinegar smell. Accurate measurement creates a good balance between cleaning strength and rinseability. The right mix makes the cleaning process more efficient.
Understanding these ratios helps you choose the right strength for your machine’s condition. Adjusting the mixture based on buildup ensures better results. A proper ratio gives you a cleaner, better tasting coffee maker.
How Much Vinegar to Use Based on Coffee Maker Size
Different coffee makers require different amounts of vinegar depending on the size of their water reservoir.
A standard 8 to 12 cup coffee maker usually needs a full reservoir of the 1:1 vinegar and water mixture. Filling the tank completely ensures the solution flows through every internal tube.
Small 4 cup coffee makers need less vinegar because their reservoirs hold less water. For these machines, use half the amount by maintaining the same ratio. The goal is to fill the tank entirely, regardless of size.
Large or commercial coffee makers with oversized reservoirs require more vinegar. These machines often have deeper buildup due to frequent use. Filling their tanks with a full cleaning mixture ensures proper descaling.
If you are unsure of your reservoir size, look at the markings on the side of the tank. Most machines include measurements that show cup capacity. This helps you determine how much vinegar mixture is needed.
Always mix the vinegar and water outside the machine first when dealing with larger amounts. This ensures the ratio stays accurate. Pouring separately can lead to inconsistent strength.
If your machine has not been cleaned in a long time, consider adding a little extra vinegar for the first cycle. A stronger mixture helps break through stubborn buildup more quickly. Later cleanings can return to the standard strength.
Using the correct amount of vinegar for your specific machine size ensures the cleaning solution works effectively. Proper filling allows the vinegar to reach every internal area that needs descaling. This leads to a cleaner system and better tasting coffee.
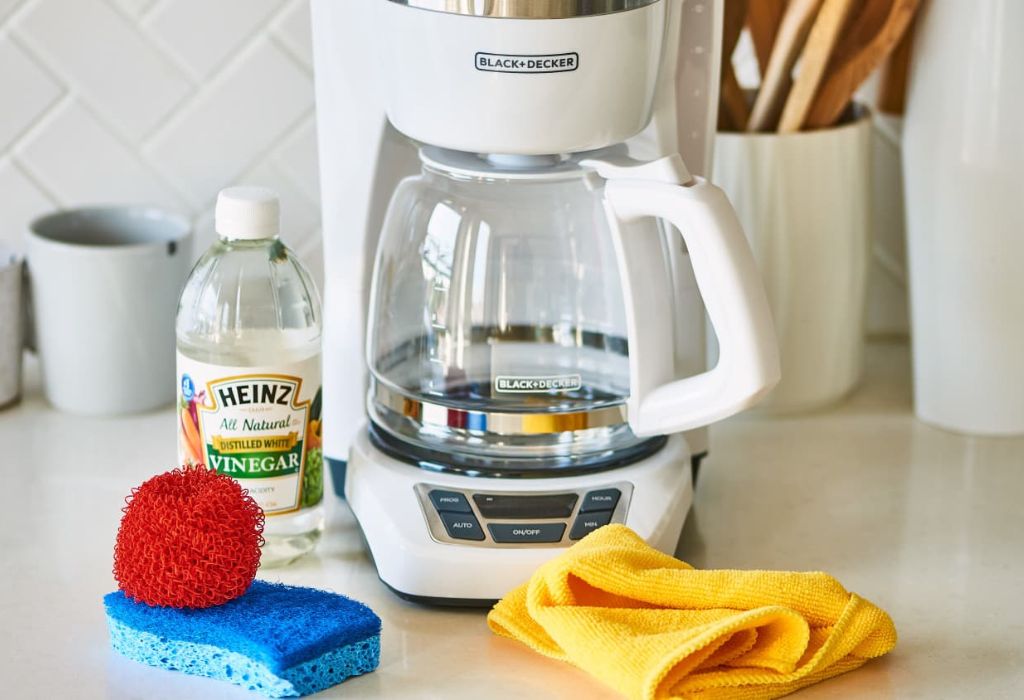
Step by Step Process for Cleaning With Vinegar
Start by emptying the coffee maker and removing any leftover grounds or filters. A clean basket helps the cleaning mixture flow properly. This ensures the vinegar reaches all internal parts without obstruction.
Fill the reservoir with a vinegar and water mixture using the ratio you selected earlier. Make sure the tank is completely filled to maximize coverage. Proper filling allows the solution to circulate through every tube.
Place an empty filter in the basket if your machine uses one. This helps catch loosened debris during the cleaning cycle. It also keeps the internal parts cleaner.
Turn on the coffee maker and let it brew just like normal. Allow it to run until half of the vinegar mixture has passed through the system. Pause the brew cycle at this midpoint.
Let the remaining vinegar mixture sit inside the machine for about twenty to thirty minutes. This soaking period gives the vinegar time to dissolve mineral buildup. Soaking improves the effectiveness of the cleaning process.
After soaking, turn the coffee maker back on and complete the brew cycle. This pushes the rest of the vinegar mixture through the machine. The final flow removes dissolved minerals and old coffee oils.
When the first cleaning cycle is done, discard the hot vinegar solution. The smell may be strong at this stage. Proper ventilation helps reduce odor.
This step by step process removes mineral deposits and cleans the internal structure of the coffee maker. Following each step ensures a thorough and safe cleaning. A complete cycle prepares the machine for rinsing.
How Many Rinse Cycles You Need After Using Vinegar
After running the vinegar solution through your coffee maker, rinsing is essential to remove all traces of vinegar. A proper rinse prevents your next brew from tasting sour or acidic. Rinsing also washes away any loosened mineral particles.
Start by filling the reservoir with fresh, clean water. Do not add anything else during this step. The goal is to flush out the vinegar completely.
Run a full brew cycle using only water. This helps push leftover vinegar through the internal tubes and heating element. At the end of the cycle, discard the water.
For most machines, one rinse cycle is not enough to remove the vinegar smell fully. Running a second brew cycle with clean water improves the results. This helps ensure the machine no longer has any acidic odor.
If you used a strong vinegar mixture or your machine was heavily scaled, run a third rinse cycle. Some machines retain vinegar scent longer because of previous buildup. A third rinse ensures a neutral and clean system.
Smell the inside of the reservoir and the basket after rinsing. If you detect even a slight vinegar scent, run another cycle. A fresh smelling machine means all vinegar is gone.
Rinsing thoroughly protects the taste of your future coffee. It also prevents the acidic smell from lingering inside the machine. Proper rinsing completes the cleaning process safely and effectively.
Cleaning the Coffee Maker Carafe With Vinegar
The carafe often holds stubborn stains and coffee residue that affect the freshness of your brew. Vinegar is highly effective at breaking down these stains without damaging the glass or stainless steel surface. Regular cleaning keeps the carafe clear and odor free.
Start by filling the carafe halfway with warm water. Add equal parts vinegar to create a strong cleaning mixture. This mixture helps dissolve coffee stains and remove lingering smells.
Swirl the solution around the interior of the carafe. The circular motion loosens coffee oils that cling to the surface. This step prepares the carafe for deeper cleaning.
Use a soft sponge or bottle brush to scrub the inside. Pay special attention to the bottom where residue often collects. A thorough scrub ensures no grime remains.
If the carafe has old or stubborn stains, let the mixture sit for fifteen to twenty minutes. This soaking time helps vinegar penetrate tough buildup. Soaking makes scrubbing easier and more effective.
Rinse the carafe thoroughly with warm water after cleaning. Make sure there is no vinegar scent left behind. A clean rinse restores the carafe to a fresh, neutral state.
Dry the carafe completely before putting it back into the coffee maker. Moisture left inside can attract dust or cause mildew over time. Drying extends the life of your equipment.
A clean carafe improves the taste of your coffee by removing stale flavors. Proper maintenance ensures a brighter and more enjoyable brewing experience. Keeping the carafe fresh is an important part of regular coffee maker care.
How Often You Should Clean Your Coffee Maker With Vinegar
How often you should clean your coffee maker depends on how frequently you use it. Daily use leads to faster mineral buildup and oils coating the internal tubes. Regular cleaning helps maintain performance and taste.
For most households, cleaning with vinegar once every month is ideal. Monthly cleaning prevents limescale from becoming thick and difficult to remove. It also stops stale flavors from building up inside the machine.
If you live in an area with hard water, you may need to clean your coffee maker more often. Hard water contains higher levels of calcium and magnesium that form deposits quickly. Cleaning every two to three weeks keeps the machine running smoothly.
If you use your coffee maker only occasionally, cleaning every two months is enough. Less frequent brewing produces slower buildup inside the reservoir and tubes. Occasional cleaning still prevents lingering smells and flavors.
Heavy coffee drinkers may need to clean the machine twice a month. Brewing multiple times a day rapidly increases mineral deposits. Frequent cleaning maintains strong water flow and consistent temperature.
If you notice your coffee tasting weaker or brewing slower than usual, it is a sign that cleaning is overdue. Performance changes indicate that mineral deposits are blocking the system. Vinegar cleaning restores normal function.
Regular maintenance extends the lifespan of your coffee maker. Staying consistent with cleaning keeps your machine efficient and your coffee tasting great. A clean machine always produces better results.
Signs Your Coffee Maker Needs a Vinegar Cleaning
One of the first signs your coffee maker needs cleaning is a noticeable change in taste. Coffee may start to taste bitter, metallic, or unusually weak. These flavor issues often come from mineral buildup inside the machine.
Another sign is slower brewing time. If the machine takes longer than usual to brew a full pot, calcium deposits may be restricting water flow. Reduced flow affects brewing temperature and extraction quality.
If you hear unusual noises during brewing, buildup may be blocking the heating element. Gurgling or sputtering sounds signal poor water movement. Cleaning helps restore normal operation.
A visible white film inside the reservoir indicates limescale. Hard water leaves mineral traces that grow thicker over time. These deposits prevent the machine from heating efficiently.
If your coffee maker stops producing steam or hot water, the tubes may be partially clogged. Clogged tubes prevent proper heating and circulation. Vinegar cleaning dissolves these blockages and restores functionality.
A foul or stale smell coming from the machine is another clear indicator. Old coffee oils inside the system create unpleasant odors that affect every brew. Vinegar removes these oils and freshens the machine.
If the coffee temperature seems cooler than normal, the heating element may be coated with minerals. A coated heating element cannot transfer heat effectively. Cleaning brings the temperature back to normal levels.
Paying attention to these signs helps you clean before problems worsen. Early cleaning protects the machine from long term damage. A well maintained coffee maker always performs better.
Using Vinegar Safely on Different Types of Coffee Makers
Vinegar is safe for most standard drip coffee makers, but it must be used carefully depending on the machine type. Drip machines handle vinegar well because their internal components are simple and resistant to mild acidity. This makes them ideal for vinegar based cleaning.
Single serve coffee makers, such as Keurig style machines, can also be cleaned with vinegar. However, these machines have smaller internal tubes that may require multiple rinse cycles. Extra rinsing ensures no vinegar taste remains in the system.
Espresso machines require caution when using vinegar. Some espresso machine manufacturers warn against vinegar because it can damage rubber seals over time. Always check the manufacturer’s instructions before using vinegar in these machines.
Stainless steel coffee makers handle vinegar safely because stainless steel resists corrosion and discoloration. Vinegar effectively removes mineral buildup in these machines without causing harm. This makes stainless steel models easy to maintain.
Coffee makers with aluminum parts should avoid strong vinegar concentrations. Aluminum reacts with acids and may discolor or weaken if exposed for too long. Use a diluted mixture if your machine includes aluminum components.
If your coffee maker has built in descaling programs, vinegar still works, but you may need to follow the machine’s cycle order. Some advanced models guide you through each cleaning stage automatically. Always follow the instructions for best results.
Using vinegar safely depends on knowing the materials and design of your machine. Checking the manual before cleaning prevents accidental damage. Safe cleaning ensures your machine stays in good working condition.
Frequently Asked Questions on Descaling Coffee Makers
How much vinegar should I use to clean a coffee maker?
Use a one to one ratio of vinegar and water for most machines. Fill the entire reservoir with this mixture. This provides strong and effective cleaning.
Can I clean my coffee maker with pure vinegar?
Pure vinegar is too strong for most machines. It leaves a heavy smell and can take many rinses to remove. Always dilute it with water.
How often should I clean my coffee maker with vinegar?
Most people clean their machine once a month. Heavy users or hard water areas should clean more often. Regular cleaning improves brewing performance.
Do I need to rinse the coffee maker after using vinegar?
Yes, rinsing is essential. Run at least two full cycles of clean water. Additional cycles may be needed if the vinegar smell remains.
Is vinegar safe for all coffee makers?
Vinegar is safe for drip machines and most single serve makers. Espresso machines and aluminum parts require caution. Always check the manual first.
Can I use apple cider vinegar instead of white vinegar?
It is not recommended because apple cider vinegar has color and flavor. These can leave residue and affect taste. White distilled vinegar is the safest choice.
Why does my coffee still taste strange after cleaning?
You may need more rinse cycles. Vinegar can linger if not flushed thoroughly. Running extra water cycles usually solves the problem.
Can vinegar damage my coffee maker?
Undiluted vinegar or excessive soaking can harm some materials. Using the correct ratio prevents this issue. Dilution keeps the process safe.
Should I remove the filter basket during cleaning?
You can leave it in place, but clean it afterward. Coffee oils and mineral particles often gather in the basket. Washing it improves flavor.
Can I add lemon juice to the vinegar mixture for more cleaning power?
It is not necessary because vinegar alone is strong enough. Lemon juice adds acidity but may leave a scent. Stick to vinegar and water for best results.
Conclusion
Cleaning your coffee maker with vinegar is one of the easiest and most cost effective ways to keep your machine working properly and producing great tasting coffee.
Mineral deposits and old coffee oils build up inside the system over time, and without regular cleaning, these residues affect flavor and performance. Vinegar dissolves these deposits naturally and restores the machine’s efficiency.
Using the right vinegar to water ratio ensures effective cleaning without damaging any internal parts.
Whether your coffee maker is small, large, or heavily used, adjusting the mixture based on its condition gives the best results. Consistent cleaning prevents long term buildup and keeps your machine functioning smoothly.
Running multiple rinse cycles after cleaning removes any remaining vinegar scent. Proper rinsing ensures your next brew tastes fresh and pure instead of sour or acidic. This final step is essential for a clean and enjoyable cup.
By paying attention to signs of buildup, following safe cleaning techniques, and avoiding common mistakes, you extend the life of your coffee maker.
A well maintained machine heats efficiently, brews consistently, and delivers better flavor in every cup. With simple routine care, your coffee maker stays fresh, clean, and ready to brew delicious coffee every day.
I’m Emma J. Caldwell, the founder, lead writer, and home-cooking enthusiast behind KitchenGuideCo.com. With a background in culinary arts and over a decade of cooking experience in both professional and personal kitchens, I created this platform to demystify recipes, offer smart kitchen gadget reviews, and guide readers through meal prep with confidence and clarity.