A food processor can feel like a lifesaver in the kitchen, chopping vegetables, shredding cheese, kneading dough, slicing ingredients, and blending sauces in seconds.
But before it can handle any of those tasks, you need to assemble it correctly, and that’s where many people feel confused. With different blades, discs, lids, and safety locks, it’s normal to wonder which piece goes where or why the machine won’t turn on after cleaning.
The truth is, most food processors follow the same basic structure. Once you understand how the bowl locks onto the base, how the blades sit on the center spindle, and how the lid must align with its safety mechanism, assembling the machine becomes simple and almost automatic.
Whether you’re setting up a brand-new food processor for the first time or reassembling it after washing, knowing the correct order saves time and protects your appliance.
This guide is designed to take away all the guesswork. You’ll learn how each part fits together, how to secure the blade safely, how to lock the lid properly, and how to make sure the processor is ready to run smoothly.
With clear steps and helpful tips, you’ll be assembling your food processor confidently, and using it to its full potential, in just a few minutes.
Many home cooks love using a food processor because it makes chopping, slicing, shredding, and blending feel effortless.
Yet when all the parts are sitting on the counter after washing, assembling them can suddenly feel confusing and overwhelming. That moment of hesitation is completely normal when you’re not fully sure how each piece fits together.
Most people struggle the first time because they don’t know how the bowl locks, how the blade attaches, or why the machine refuses to start even when everything appears correct.
These issues happen because food processors use built-in safety locks that only activate when every part is aligned perfectly. Once you understand these mechanisms, the entire assembly process becomes simple enough to do with your eyes closed.
A properly assembled food processor performs better, stays safer, and lasts much longer. When the bowl is tightened correctly, the blade rotates smoothly and the lid holds ingredients securely without splashing.
You also avoid common frustrations like strange noises, vibration, or the processor refusing to turn on.
This guide will teach you how to assemble every part step by step so you never feel confused again. You will learn how to position the bowl, attach the blade, lock the lid, secure the pusher, and confirm all safety mechanisms are active.
By mastering these steps, you’ll feel confident every time you use your processor and enjoy everything it adds to your cooking routine.
Understanding the Parts of a Food Processor
A food processor may look complicated at first glance, but each part plays a simple and specific role. The motor base is the heaviest piece, and it contains the engine that powers all chopping, slicing, and blending.
Since the motor is the heart of the machine, keeping this part dry and stable is extremely important.
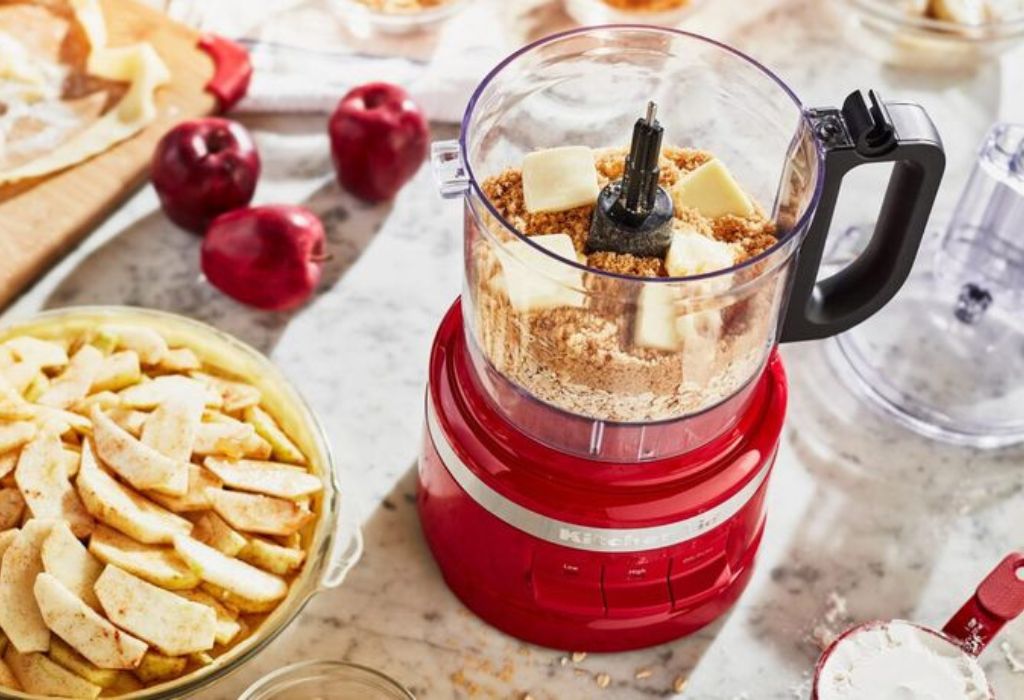
The work bowl attaches directly to the motor base and serves as the container for all ingredients.
It locks into the base with a twisting motion, and its position controls whether the safety mechanism is activated properly. The bowl includes a central spindle, which is the connection point that drives the blade.
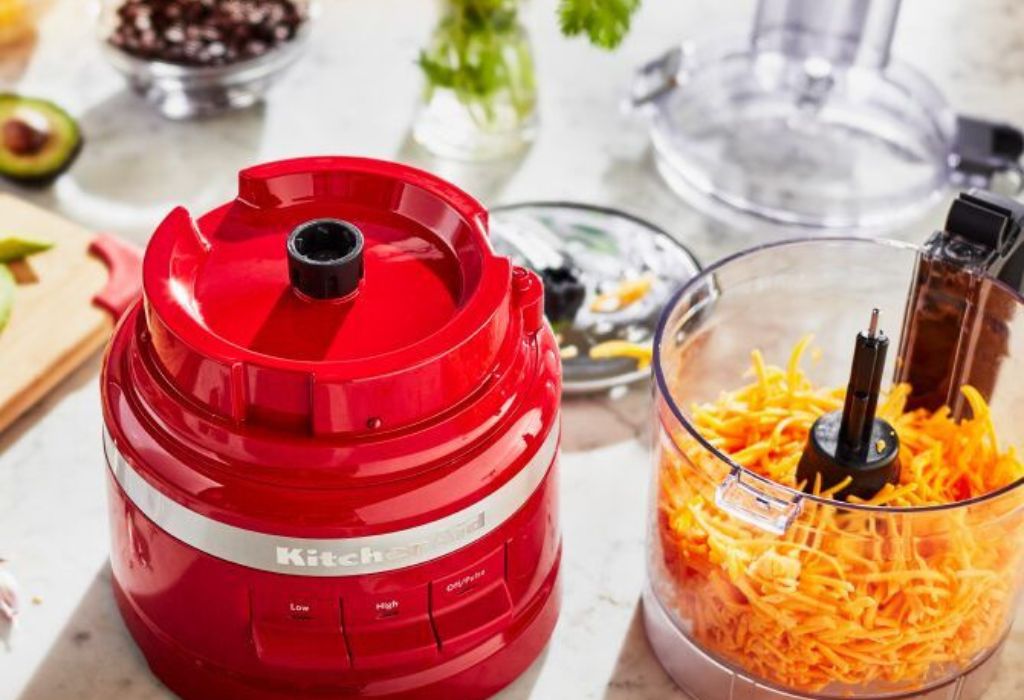
The blade is one of the sharpest parts of the appliance and must be installed with great care. The S-blade is used for chopping and blending, while slicing and shredding discs sit higher and spin above the bowl. Each blade type attaches differently, but all rely on the spindle to rotate.
The lid is designed to lock securely onto the bowl to prevent spills and splashes. It includes a feed chute that allows ingredients to be added while the processor is running. The pusher fits into this chute and keeps hands safe from the spinning blade.
Understanding how all these parts work together makes assembly intuitive. Each piece fits in a specific order that ensures safety, function, and efficiency.
Preparing Your Workspace Before Assembly
Before assembling the food processor, it’s important to set up a clean and safe workspace. A stable countertop ensures the machine stays steady during use, especially when processing harder ingredients. Always wipe the surface dry so the base grips firmly and doesn’t slide.
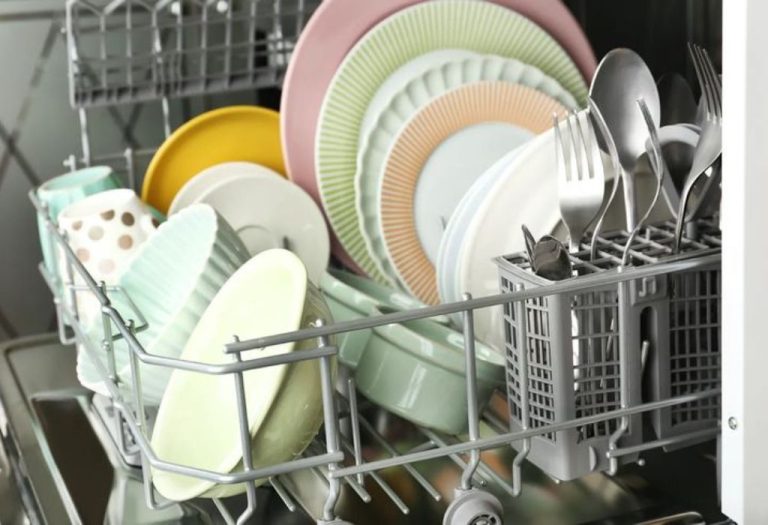
Next, gather all the clean parts from the dishwasher or drying rack and place them neatly in front of you. Keeping everything organized helps you identify the correct sequence for assembly and prevents mistakes. Make sure all parts are completely dry to protect the motor.
Examine each blade carefully to ensure there are no cracks or food particles stuck in corners. A clean blade ensures smooth operation and better cutting results. Also inspect the bowl and lid for any water trapped in small grooves.
Avoid plugging in the food processor while handling the blade or assembling components. Assembling while unplugged is the safest way to protect your hands from accidental activation. Once all parts are dry and organized, you are ready to begin the assembly procedure.
Preparing the workspace ahead of time eliminates confusion later. When everything is visible, clean, and arranged, the assembly process becomes quicker and more comfortable.
Locking the Work Bowl onto the Motor Base
The first major step in assembling the food processor is locking the bowl onto the base. Start by aligning the bowl’s handle with the designated position on the motor base. Once aligned, twist gently until you feel the bowl click securely into place.
The bowl should sit flush on the base without wiggling or lifting at any corner. A loose or unstable bowl prevents the safety lock from engaging, so the processor will not turn on. Make sure the bowl’s handle is facing outward or in the exact direction your model requires.
If the bowl doesn’t lock easily, avoid forcing it since that can break the tabs. Instead, remove the bowl, realign the grooves, and try again with light pressure. Many manufacturers include arrows or symbols on the bowl and base to guide correct positioning.
A properly locked bowl ensures the blade will attach straight and spin without restriction. When the bowl clicks into place, you have completed one of the most important steps in the assembly process. This alignment also sets the foundation for attaching all other components correctly.
Once your bowl is firmly locked, you are ready to insert the blade or processing disc.
Installing the S-Blade or Processing Disc
After securing the bowl, it’s time to insert the blade or disc. The S-blade is the most commonly used attachment and fits directly onto the central spindle inside the bowl. Slide the blade gently onto the spindle until it sits flat and feels stable.
If your recipe requires slicing or shredding, use the disc stem instead of the S-blade. Insert the stem first, ensuring it is centered properly. Then place the slicing or shredding disc on top until it clicks securely onto the stem.
Blades must always be handled with great care because they are extremely sharp. Hold them by the plastic hub or dull edges when attaching or removing them. This ensures your hands stay safe and you maintain full control during assembly.
If the blade wobbles or doesn’t sit properly, it may not be installed correctly. Remove it, check for food debris on the spindle, and reinstall with gentle pressure. A well-positioned blade allows the motor to work efficiently without strain.
Once the blade or disc is secured, your food processor is halfway assembled. This step ensures smooth processing when you power on the machine later.
Positioning the Lid and Ensuring It Locks Properly
Attaching the lid correctly is a crucial step because most food processors won’t operate unless the lid is locked. Position the lid on top of the bowl, aligning its grooves with the bowl’s edges. Twist or press the lid down gently until it locks into place.
The feed chute on the lid must usually face forward or in a specific direction depending on your model. This alignment ensures the pusher fits correctly and engages the safety mechanism. If the lid isn’t aligned properly, the motor will not start.
Modern food processors are built with interlocking systems that prevent operation unless every piece is correctly attached. This protects your hands from coming near the spinning blade and prevents accidental activation. A properly locked lid helps contain all ingredients inside the bowl during processing.
If the lid doesn’t lock easily, remove it and realign the grooves. Forcing the lid can break the locking tabs, so always use light pressure and follow the direction of rotation. Once the lid fits securely, you should feel or hear a small click.
With the lid in place, your food processor is now close to being ready for use. The next step is securing the chute and pusher.
Securing the Feed Chute and Pusher System
The feed chute on the lid allows you to add ingredients while the food processor is running. Insert the pusher into the chute, ensuring it slides in smoothly and seats firmly. The pusher protects your hands and keeps ingredients from bouncing or flying out.
Some food processors require the pusher to be fully inserted before the machine will start. This is an additional safety feature that prevents the blade from operating when the chute is open. Always check your model’s design to understand how the safety lock functions.
Use gentle pressure when guiding ingredients through the chute. Forcing food into the blade can damage the motor or cause uneven cutting. The pusher also helps control ingredient size and movement for consistent results.
If the pusher gets stuck, remove it and inspect the chute for debris or misalignment. Clean both parts thoroughly and try inserting again with light pressure. A smooth-moving pusher ensures proper feeding and prevents hazards.
Once the pusher is secure, your food processor assembly is nearly complete. The final steps involve checking alignment and preparing the machine for safe operation.
Verifying All Safety Locks Before Switching On
Before plugging in the food processor, verify that every safety lock is engaged properly. Check that the bowl is tightly locked onto the base and the lid is positioned correctly. Also ensure the blade or disc is secured on the spindle without wobbling.
Many food processors include small sensors that detect whether each part is aligned. If even one part is off by a few millimeters, the machine may refuse to start. Double-check all components if the processor doesn’t power on immediately.
Inspect the handle orientation, as some processors rely on the handle position to activate the lock. Make sure the pusher fits properly and does not leave any gaps around the chute. You may also hear a soft click when everything aligns correctly.
Avoid turning on the machine until you’re confident that all parts are secure. Running the processor when something is misaligned can damage the motor or cause the blade to jam. Ensuring proper alignment prevents accidents and keeps the appliance in good condition.
Once everything checks out, the processor is safe to plug in and test.
Plugging In and Testing the Assembly
After verifying safety locks, plug the food processor into a grounded electrical outlet. Always keep your hands dry and avoid placing the cord near water or hot surfaces. Ensuring proper electrical setup is essential for safe operation.
Before adding food, test the assembly by pressing the pulse button once or twice. The motor should run smoothly without strange sounds or vibration. If nothing happens, revisit the bowl, lid, and pusher alignment.
Listen closely for grinding noises or rattling, which may indicate that the blade isn’t seated correctly. Turn the machine off immediately if anything feels off. Reassemble the parts and try again to confirm proper setup.
Once the machine runs smoothly during the test, it is ready to process food. This quick check protects the motor and ensures safe handling. Performing this step every time helps avoid damage from incorrect assembly.
Now your food processor is fully assembled and ready to use for chopping, slicing, shredding, or blending.
Using the Food Processor After Proper Assembly
After successful assembly, you can start using the processor for your recipe. Always begin by adding ingredients gradually based on their size and hardness. Using the feed chute correctly ensures even and safe processing.
When chopping, avoid overloading the bowl since too many ingredients reduce blade efficiency. For slicing and shredding, use steady, controlled pressure on the pusher. This helps the disc cut evenly and prevents jamming.
Select the correct speed based on your recipe. Higher speeds work well for purées, while pulse mode gives better control for chopping. Understanding speed settings improves processing accuracy.
Monitor the bowl as the machine runs. If ingredients stick to the sides, stop the machine and use a spatula to redistribute them. This helps achieve a uniform texture.
Cleaning right after use makes assembly easier next time. Wash all removable parts with warm soapy water and avoid submerging the motor base. Dry everything well to prevent wear and rust.
Once cleaned, store all attachments neatly so the next assembly is quick and effortless. Proper maintenance keeps your food processor functioning at peak performance.
Maintenance Tips to Keep Assembly Easy Every Time
Maintaining your food processor makes every future assembly smoother. After each use, wash the bowl, lid, blades, and chute thoroughly to prevent food buildup. Residue can prevent parts from fitting correctly and may damage the locking system.
Dry each part completely before assembling or storing the appliance. Moisture can cause blades to rust or lead to mold inside the bowl. Use a clean cloth to reach tight corners and prevent water spots.
Inspect blades regularly for dullness or small chips. Sharp blades work more efficiently and reduce strain on the motor. Replace any damaged attachments promptly to avoid accidents.
Store all parts in one place to avoid losing small components. Keeping the spindle, discs, and blades organized saves time during assembly. A clean, organized setup helps prolong the life of your food processor.
Follow the manufacturer’s instructions regarding lubrication or motor care. Some models require occasional oiling for smooth performance. Regular maintenance ensures your processor stays reliable for years.
By taking good care of each part, you make assembly faster and protect the machine from long-term wear.
Frequently Asked Questions About Assembling a Food Processor
Why won’t my food processor turn on after assembly?
Most food processors use multiple safety locks, so the machine won’t start unless the bowl, lid, and pusher are aligned perfectly. Recheck each part to make sure it has clicked into place.
How do I know if the bowl is locked properly?
A properly locked bowl will twist into place smoothly and stop firmly, often with a click. If it wiggles or lifts, it needs to be reseated and locked again.
Is the S-blade supposed to move slightly when installed?
Yes, the S-blade usually has a small amount of wiggle when placed on the spindle. It should not wobble heavily, but slight movement is normal and safe.
Why does my lid feel tight or hard to twist?
Food residue or misalignment can make the lid difficult to lock. Clean the locking grooves and reattach gently to avoid damaging the tabs.
Do I need to insert the pusher before the machine starts?
Many models require the pusher to be in place because it engages the final safety switch. Without it, the motor may not activate for safety reasons.
Can I assemble the food processor while plugged in?
It’s always safer to assemble while the machine is unplugged. Blades are extremely sharp, and accidental activation can cause serious injury.
Why does the blade not sit straight on the spindle?
Debris or water around the spindle can cause misalignment. Clean and dry the area completely, then reinstall the blade carefully.
What should I do if the machine vibrates after assembly?
Check that the base is on a stable surface and the bowl is locked tightly. Excess vibration usually means something isn’t aligned correctly.
Can I run the food processor without the lid?
No, the safety lock prevents operation without the lid fully engaged. This protects you from direct exposure to the blade.
How often should I check parts for wear or damage?
Inspect blades, discs, bowl tabs, and locking grooves every few uses. Early detection of cracks or wear keeps your machine safe and long-lasting.
Conclusion
Assembling a food processor correctly is essential for safe, efficient, and smooth operation. Even though the many parts may look confusing at first, understanding their purpose makes the entire process simple.
When the bowl locks tightly, the blade attaches securely, and the lid aligns with its safety mechanisms, the appliance works exactly the way it should.
A well-assembled processor performs better, lasts longer, and reduces the risk of accidents. Following each step carefully ensures the motor runs smoothly and the blade produces consistent results.
Whether you’re chopping vegetables, slicing fruit, or blending sauces, correct assembly sets the foundation for great cooking.
With practice, assembling a food processor becomes a quick and natural routine. You’ll gain confidence, avoid common mistakes, and enjoy everything this versatile appliance brings to your kitchen.
From today forward, you’ll be able to assemble your food processor in seconds and use it like a pro.
I’m Emma J. Caldwell, the founder, lead writer, and home-cooking enthusiast behind KitchenGuideCo.com. With a background in culinary arts and over a decade of cooking experience in both professional and personal kitchens, I created this platform to demystify recipes, offer smart kitchen gadget reviews, and guide readers through meal prep with confidence and clarity.