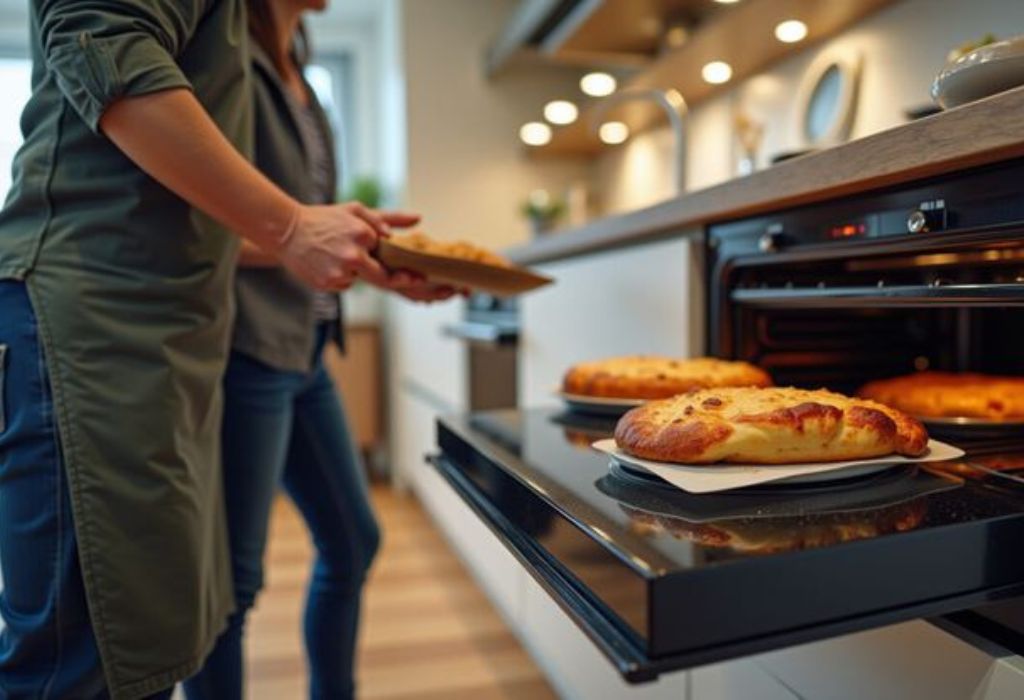
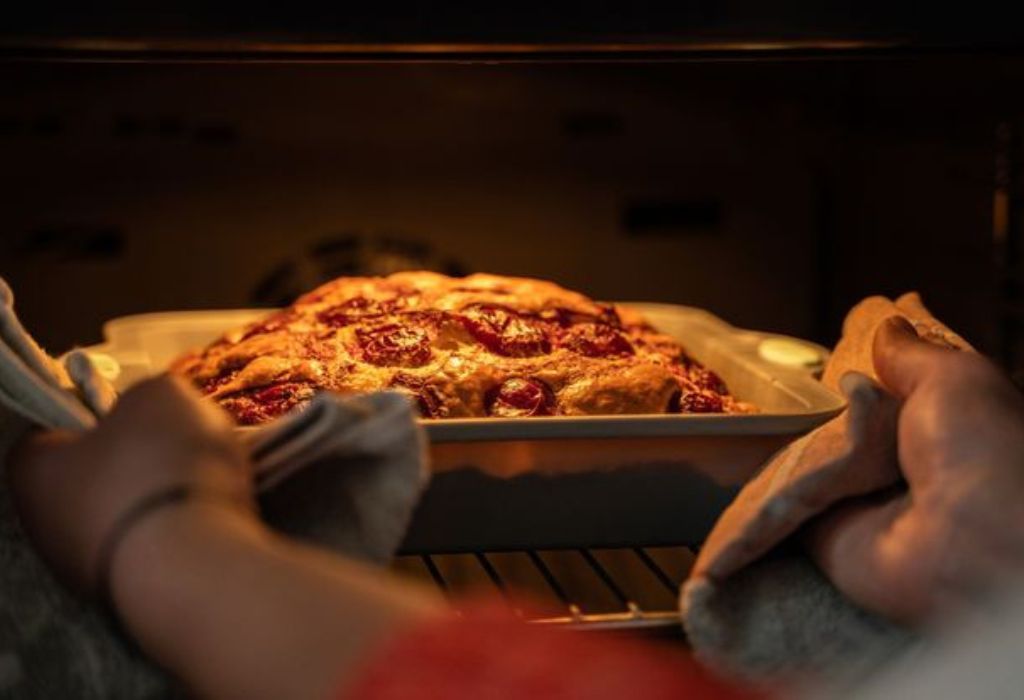
The moment a perfectly golden cake comes out of the oven, expectations rise. But when one side is beautifully baked and the other is pale or burned, frustration replaces excitement.
This uneven result is not caused by poor ingredients or bad recipes. It is the invisible problem of oven hot spots at work.
Hot spots are zones inside the oven where heat concentrates more intensely than in surrounding areas. These zones quietly sabotage baking, roasting, and reheating by causing uneven browning, undercooked centers, and scorched edges.
Many home cooks unknowingly fight these hot spots every day without understanding why their food never bakes evenly.
Learning how to avoid hot spots in oven is not just for professional bakers. It is one of the most powerful skills any home cook can master.
This guide explains what hot spots are, why they form, how they affect cooking, and exactly how to eliminate or control them for consistently even results.
What Are Oven Hot Spots and Why They Form
Oven hot spots are areas inside the cooking chamber where heat intensity is higher than the rest of the space. These zones develop due to uneven airflow, faulty heating elements, poor insulation, or design limitations within the oven itself.
In most household ovens, heat is generated from one or more fixed elements usually located at the bottom or top of the cavity.
As heat rises and circulates, it does not always distribute evenly. Obstacles such as oven walls, racks, and cookware disrupt airflow patterns and cause localized temperature buildup.
Gas ovens often develop hot spots near the flame source. Electric ovens develop them close to the heating coils. Older ovens are particularly prone to uneven temperature distribution due to insulation breakdown and worn heating components.
Hot spots become more aggressive when the oven struggles to maintain stable temperature. As the thermostat cycles on and off, certain areas overshoot the target temperature before the system stabilizes.
Understanding that hot spots are not random helps explain why the same corner of a baking tray always burns first. These zones follow predictable physical patterns of heat flow.
How Hot Spots Affect Baking and Roasting Results
Hot spots create uneven cooking results because food reacts directly to local temperature rather than the overall oven setting.
When one part of a dish receives higher heat, moisture evaporates faster in that area. This leads to premature browning, burning, and texture imbalance.
In baking, hot spots cause cakes to rise unevenly. One side may dome excessively while the opposite stays flat. Cookies placed near hot zones brown faster on one side and remain pale on the other. This forces constant tray rotation during baking to prevent scorching.
In roasting, hot spots cause certain sections of vegetables to char while others remain undercooked. Meats develop uneven crust and irregular internal doneness. One edge dries out while the center remains juicy.
Hot spots also affect timing consistency. Recipes fail to match expected doneness times because some areas cook faster than others. This makes accurate temperature control nearly impossible without proper correction.
The presence of hot spots explains most common baking frustrations such as burned bottoms, pale tops, uneven crumb, and unpredictable texture.
Signs That Your Oven Has Serious Hot Spots
One of the clearest signs of hot spots is repeatedly burned food in the same location. If the back-left corner always overbrowns while the front remains pale, a fixed hot zone exists.
Uneven cake rise is another indicator. If cakes consistently tilt toward one side or crack more on one edge, uneven heat exposure is the cause.
Inconsistent cookie browning across the same tray indicates horizontal heat imbalance. When cookies on the edges brown much faster than those in the center, outer-wall heat concentration is present.
Roasts that brown unevenly despite being centered also signal internal airflow disturbance. One side cooking much faster than the other points to convection failure or blocked vents.
Long preheating times followed by irregular temperature swings further indicate that heat is not distributing correctly inside the oven.
Recognizing these visual signs helps diagnose hot spots before they ruin more recipes.
How Oven Design Creates Heat Imbalance
Not all ovens are engineered with equal heat distribution. Budget ovens typically rely on static heating without true internal circulation. This causes hot air to rise straight upward instead of spreading evenly.
Wall ovens often develop vertical heat gradients where the top rack runs significantly hotter than the bottom. Freestanding ovens with lower heating elements concentrate heat near the oven floor.
Side-mounted fans, when poorly designed, push heat disproportionately to one side. This creates a dominant airflow pattern that favors one corner over the rest of the cavity.
Poor insulation causes heat leakage through one wall faster than others. The system compensates by overworking the nearest heating element, intensifying localized hot spots.
Even door glass thickness affects heat reflection inside the oven. Thin glass loses heat faster and forces heating elements to work harder near that zone.
Oven design limitations explain why some models suffer from chronic uneven heating regardless of technique.
Why Preheating Alone Does Not Eliminate Hot Spots
Many people assume that longer preheating solves hot spot problems. While preheating stabilizes overall temperature, it does not correct airflow imbalance or element positioning.
During preheating, heat naturally builds first near the heating sources. If airflow is limited, those zones remain hotter even after the oven reaches target temperature.
Ovens without convection fans rely entirely on natural air movement. This weak circulation cannot equalize heat efficiently across shelves and corners.
Thermostats measure average temperature, not localized extremes. The oven may show 375°F while one corner reaches 425°F and another sits at 345°F simultaneously.
Preheating is essential for baking consistency, but alone it cannot correct structural heat distribution flaws.
The Role of Oven Racks in Creating Hot Zones
Oven racks influence heat flow more than most users realize. When racks block vent openings or sit too close to heating elements, they create artificial hot spots.
Placing food too close to the bottom heating element exposes it to direct radiant heat. This causes burned bases and undercooked tops.
Top racks near broiler elements experience stronger infrared heat. This leads to premature surface browning before interior cooking finishes.
Crowded racks obstruct airflow entirely. Trapped heat builds up around the edges and corners of trays instead of circulating across the food surface.
Rack height determines how evenly heat wraps around food. Mid-rack positioning usually produces the most balanced airflow for baking and roasting.
Correct rack placement is one of the easiest ways to reduce hot spot damage without modifying the oven itself.
How Bakeware Material Intensifies Hot Spots
Bakeware material controls how heat transfers into food. Dark metal pans absorb and retain heat aggressively. When placed in hot zones, they magnify browning and burning.
Light-colored aluminum pans reflect heat and reduce surface scorching. They are far more forgiving in ovens with uneven heating.
Glass and ceramic bakeware hold heat longer once warmed. If exposed to hot spots, they store excess heat and continue cooking food even after removal.
Thick cast iron absorbs intense heat and radiates it slowly. In hot zones, this can create extreme surface browning long after initial exposure.
Using the wrong bakeware in hot areas amplifies temperature imbalance instead of correcting it.
How to Identify Hot Spots Accurately Using Bread or Sugar Tests
Before you can fully control oven hot spots, you must first map where they exist. One of the most reliable methods is the bread test. To perform this test, place slices of white bread across the oven rack, covering the entire surface in rows.
Preheat the oven to 350°F and bake the bread for 6 to 8 minutes. The slices that brown the fastest reveal the hottest zones inside the oven.
Another effective method is the sugar test. Spread granulated sugar thinly in a heat-resistant pan and place it in different oven positions at the same temperature. The sugar begins to melt at around 320°F. Areas where it melts first indicate stronger heat concentration.
These tests remove guesswork and give you a clear heat map of your oven. Once you know where the strongest and weakest heat zones exist, you can strategically place food to compensate for uneven heating. This single step alone dramatically improves baking consistency.
Rotating Baking Trays to Balance Heat Exposure
Even with perfect rack placement, most home ovens still contain at least one dominant hot zone. Tray rotation is one of the simplest and most powerful tools to counteract this imbalance.
Halfway through baking time, the tray should be rotated 180 degrees. This allows the previously cooler side to face the hotter zone. Foods that are sensitive to uneven heat, such as cookies, brownies, cakes, and pastries, benefit greatly from systematic rotation.
For multi-rack baking, trays should be swapped from top to bottom and rotated front to back. This prevents the upper rack from absorbing all the surface browning while the lower rack lags behind.
Tray rotation equalizes heat exposure without changing oven temperature. It is a manual convection method that works even in ovens without built-in fans.
Correct Rack Positioning for Even Heat Distribution
Rack position determines how radiant and circulating heat interacts with food. The middle rack is the most balanced heat zone for general baking and roasting because it receives gentle heat from both top and bottom elements.
The lower rack sits closest to the main heat source in most conventional ovens. This makes it ideal for foods requiring strong bottom browning such as pizza, bread loaves, and pies. However, it also increases the risk of burned bases if food is left too long.
The upper rack receives stronger reflected heat from the oven ceiling and is best suited for final browning or broiling stages. Prolonged baking on the top rack can cause overbrowned surfaces and undercooked interiors.
Correct rack selection based on cooking goal prevents unnecessary exposure to hot zones.
Using Convection Settings to Break Up Hot Spots
Convection ovens use internal fans to circulate heated air evenly throughout the cooking chamber. This movement disrupts stagnant hot zones and distributes heat more uniformly across all racks.
When convection mode is activated, oven temperature should usually be reduced by 25°F compared to standard baking. Because air moves constantly, heat transfers more efficiently to food surfaces.
Convection works exceptionally well for:
- Cookie baking on multiple racks
- Vegetable roasting
- Pastry browning
- Frozen food crisping
However, convection can over-dry delicate foods like custards or cheesecakes. For moisture-sensitive baking, traditional heat remains safer.
Using convection strategically allows you to neutralize hot spots without changing your oven hardware.
Spacing Food Properly to Allow Air Circulation
Overcrowding the oven traps heat between trays and creates artificial hot zones. When air cannot circulate freely, certain areas become heat saturated while others fall behind.
Baking trays should always have at least 1 to 2 inches of space between them as well as between tray edges and oven walls. This gap allows hot air to move freely around food surfaces.
When roasting vegetables, spreading them in a single layer prevents steam buildup. Overlapping vegetables trap moisture and create uneven soft zones instead of crisp edges.
Proper spacing ensures that heat reaches food evenly instead of concentrating in blocked areas.
Calibrating Oven Temperature for Accurate Heat Control
Many ovens run 15°F to 40°F off from the dial setting. This miscalibration intensifies hot spot problems because the oven cycles too aggressively trying to maintain a false temperature reading.
Using an oven thermometer allows you to measure the true internal temperature. If the thermometer shows consistent deviation, the oven thermostat should be adjusted to compensate.
Accurate calibration stabilizes heat cycles and prevents runaway overheating near the elements. This alone reduces the intensity of hot zones dramatically.
Using Baking Stones and Steel Plates to Stabilize Heat
Baking stones and steel plates act as thermal buffers inside the oven. They absorb excess heat during high cycles and release it slowly when the oven cools.
When placed on the bottom rack, these tools:
- Reduce sudden heat spikes
- Stabilize internal air temperature
- Improve bread oven spring
- Minimize lower-rack burning
Steel plates store more heat than stone and provide faster surface energy for pizza and bread. Stones distribute heat more gently for pastries and cakes.
Thermal mass turns unstable ovens into balanced baking environments.
Fix Oven Hot Spots Common Questions
What causes hot spots in an oven?
They are caused by uneven airflow, heating element placement, poor insulation, and blocked vents.
How do I know if my oven has hot spots?
Repeated uneven browning in the same areas is the clearest sign.
Does preheating remove hot spots?
No, preheating stabilizes temperature but does not fix airflow or element imbalance.
Can convection mode eliminate hot spots?
Yes, convection greatly reduces hot zone intensity.
Is it necessary to rotate trays when baking?
Yes, tray rotation equalizes heat exposure in most home ovens.
Which rack position is best for even baking?
The middle rack provides the most balanced heat distribution.
Do dark baking pans make hot spots worse?
Yes, dark pans absorb more heat and intensify burning in hot zones.
Will an oven thermometer really help?
Yes, it reveals calibration errors that cause overheating.
Do baking stones help with hot spots?
Yes, they stabilize temperature and reduce sudden heat bursts.
Is cleaning the oven important for even heating?
Yes, grease and debris disrupt airflow and heat reflection.
Conclusion
Oven hot spots are one of the most common hidden causes of baking frustration. They silently sabotage recipes by creating uneven cooking zones that no amount of timing precision alone can correct.
Burned edges, pale centers, uneven rise, and inconsistent browning all trace back to poor heat distribution.
This guide has shown how hot spots form, how to identify them accurately, and how to neutralize them using practical techniques such as rack rotation, proper spacing, convection airflow, thermal mass stabilization, and temperature calibration.
These methods work with the oven you already own and transform it into a predictable cooking tool.
Avoiding hot spots is not about fighting your oven. It is about learning how heat behaves inside it. Once you understand and control that behavior, your baking becomes consistent, even, and reliable every time.
Mastering oven heat control is one of the most important skills any serious home cook can develop. When hot spots are neutralized, confidence replaces guesswork and every recipe reaches its true potential.
I’m Emma J. Caldwell, the founder, lead writer, and home-cooking enthusiast behind KitchenGuideCo.com. With a background in culinary arts and over a decade of cooking experience in both professional and personal kitchens, I created this platform to demystify recipes, offer smart kitchen gadget reviews, and guide readers through meal prep with confidence and clarity.