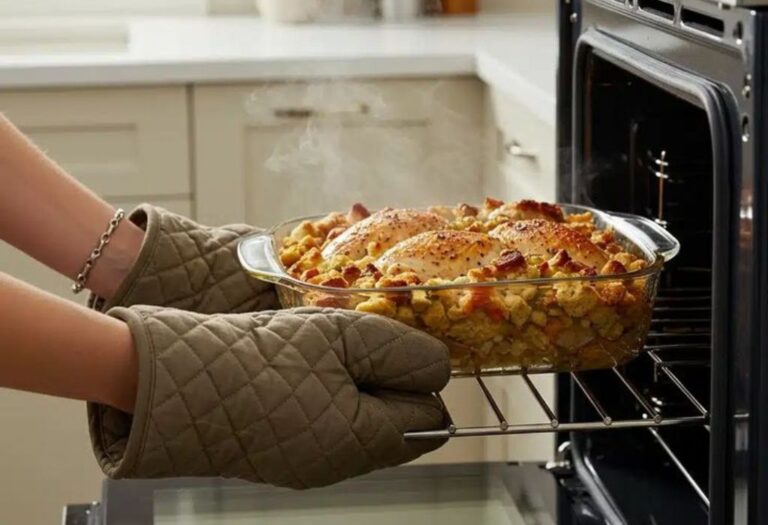
When Arif tried baking his favorite sponge cake, the outside looked perfect but the center stayed raw.
He assumed the recipe was wrong until the same problem happened three weekends in a row. That is when he realized his oven was heating hotter than the temperature he selected on the control knob.
Like many home cooks, he trusted the display without checking actual heat inside the oven. Over time, oven sensors shift slightly which causes inaccurate temperature readings during cooking.
Even a small difference can change baking results, turning cookies too crisp or leaving casseroles undercooked.
Calibrating the oven helps restore proper heating and ensures recipes cook the way they were intended. In this guide, you will learn why ovens lose accuracy, how to test the real temperature, and step by step calibration for different oven types.
By the end, you will be able to correct temperature differences and enjoy consistent cooking every time.
Why Oven Temperature Calibration Matters
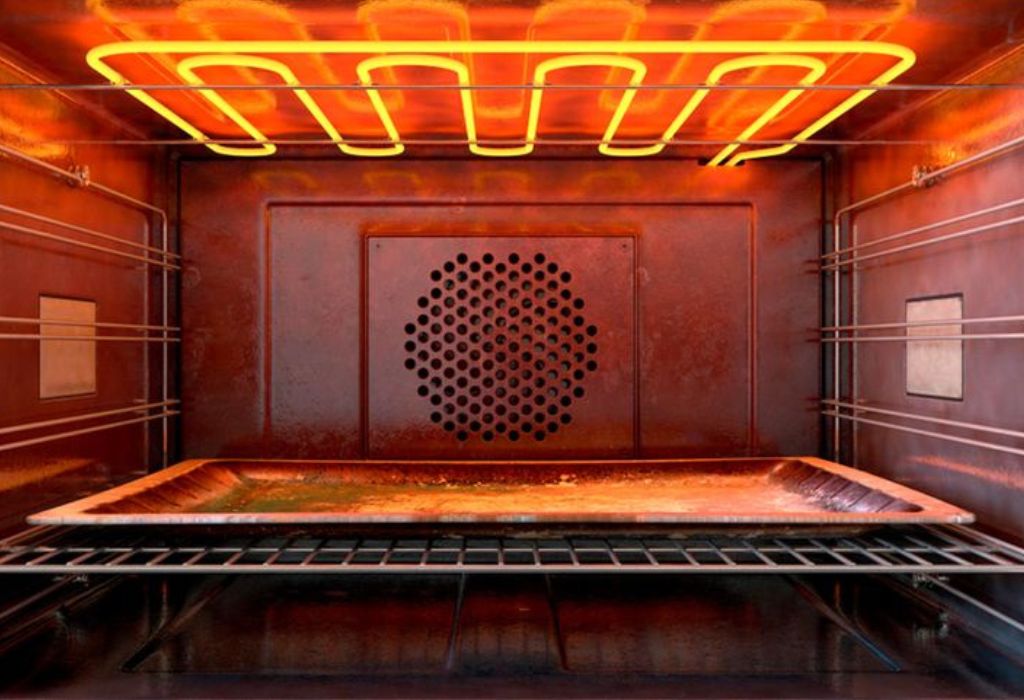
Accurate temperature ensures food cooks evenly without burning on one side or staying raw in the middle.
Baking relies heavily on precise heat because small changes affect dough rise and texture. Calibrating the oven brings the temperature closer to the number shown on the dial or display panel.
Over time, heating elements and internal sensors may shift slightly from regular use. This change causes the oven to run hotter or cooler than the selected temperature during cooking. Without calibration, recipes become unpredictable and results vary from batch to batch.
Calibration also improves energy efficiency because the oven no longer overheats unnecessarily.
When heat cycles operate correctly, power usage stays stable and the appliance performs better. Maintaining proper temperature helps extend the lifespan of heating components inside the cavity.
Signs Your Oven Temperature Is Inaccurate
Food taking longer than usual to cook is one of the most common signs of inaccurate temperature.
If dishes consistently finish earlier than expected, the oven may be running hotter than the setting. Sudden changes in cooking time often indicate the need for calibration rather than recipe adjustment.
Uneven browning on cookies or roasted vegetables suggests temperature imbalance inside the oven. Hot spots or cold zones may develop when sensors drift or heating elements begin aging.
Repeating the same problem across multiple recipes confirms the issue is not ingredient related.
Burning smells during preheating can signal overheating even when the temperature is set correctly. Heat may climb higher than intended which causes grease residue to smoke quickly. Identifying these symptoms early prevents food waste and improves kitchen safety.
Why do ovens lose temperature accuracy over time?
Heating sensors and internal components shift slightly from regular heat cycles.
Is uneven browning always caused by calibration issues?
Not always, cookware placement and oven racks can also affect airflow and heat.
Can preheating take longer if the temperature is inaccurate?
Yes, a cooler oven may need extra time to reach the selected temperature.
Do all ovens need calibration at some point?
Most ovens require calibration eventually, especially after years of frequent use.
Is recipe failure always due to temperature problems?
No, but repeated issues across different recipes often point to calibration needs.
Tools You Need Before Starting Calibration
An oven safe thermometer is the most important tool for checking internal temperature accuracy.
The thermometer should be placed inside the oven rather than relying on external readings from the display. Choosing a reliable model ensures consistent measurements across multiple test cycles.
Heat resistant gloves protect hands when placing or removing tools inside a hot oven. Opening the door repeatedly exposes users to high temperature surfaces and steam from heated air. Proper safety prevents accidental burns when performing calibration steps.
A notepad or digital device helps record temperature readings at different time intervals. Tracking the difference between the displayed temperature and actual heat guides the adjustment process accurately. Taking clear notes avoids repeating steps and reduces trial and error.
How to Test Oven Temperature Using an Oven Thermometer
Place the oven thermometer on the center rack because heat distributes most evenly in that area.
Setting the temperature to a common level like one hundred eighty degrees Celsius provides a standard test point. Allow the oven to preheat fully before checking the reading on the thermometer inside.
Avoid opening the oven door frequently because it releases heat and lowers temperature quickly. Waiting at least fifteen minutes after preheating helps stabilize the internal heat level. Recording the thermometer reading shows how far the oven deviates from the selected temperature.
Repeat the test at higher and lower temperature settings to confirm accuracy across different ranges. Some ovens run hotter at one level but cooler at another depending on sensor sensitivity. Multiple tests provide the best understanding before adjusting calibration settings.
Where should I place the oven thermometer for accurate results?
The center rack provides the most consistent temperature for testing.
How long should I wait before checking the thermometer?
Wait at least fifteen minutes after preheating to let the temperature stabilize.
Can I test at only one temperature setting?
Testing at multiple settings gives a better picture of accuracy across ranges.
Why should I avoid opening the oven door during testing?
Opening the door releases heat and lowers temperature, affecting the reading.
Do digital thermometers work inside ovens?
Only oven safe models can withstand high heat without damage.
Step by Step Guide to Calibrate Different Oven Types
Most mechanical ovens include a small adjustment screw located behind the control knob. Removing the knob reveals the calibration dial that allows small increases or decreases in temperature.
Turning the screw slightly adjusts how the oven interprets the selected heat level during operation.
Digital ovens often include calibration settings in the control panel menu. Accessing the settings allows users to increase or reduce temperature in small increments. Following the manufacturer’s instructions prevents incorrect adjustments that may affect heating cycles.
After calibrating the oven, repeat the thermometer test to confirm the new temperature accuracy. Small changes may require several test cycles before achieving the correct result. Gradual adjustment ensures safe performance without overcompensating the temperature difference.
How to Calibrate Digital and Smart Ovens
Digital ovens use electronic sensors that monitor internal heat and adjust temperature automatically during cooking. These models usually include built in calibration controls inside the settings menu for fine tuning accuracy.
Accessing the menu allows users to increase or decrease temperature in small steps without opening the appliance.
Smart ovens may sync with mobile apps that display temperature data in real time for better monitoring. Some advanced models send alerts if temperature fluctuates more than expected during preheating or cooking cycles.
Updating the software ensures the oven runs with the latest calibration features and performance improvements.
Calibration in digital ovens requires patience because changes are applied gradually across multiple heating cycles.
After adjusting the temperature offset, running another thermometer test confirms whether the change is correct. Repeating the process prevents overcorrection and helps maintain consistent cooking results.
Fixing Hot and Cold Spots for Even Heat Distribution
Hot spots occur when certain areas inside the oven receive more direct heat from the elements during cooking. This leads to uneven browning and can cause one side of the dish to burn while the other remains undercooked.
Placing the rack in the center helps balance airflow and reduce temperature differences between upper and lower areas.
Cold spots often form when airflow is blocked by oversized cookware or incorrectly positioned trays inside the cavity. Avoid pushing pans against the walls because this restricts circulation and prevents heat from spreading evenly.
Using lightweight aluminum baking sheets can improve heat reflection and support balanced cooking conditions.
Rotating dishes halfway through the cooking process helps minimize the impact of uneven heat distribution.
However, if the problem continues across multiple recipes, calibration may not be enough to correct the issue. Inspecting the heating elements for wear or damage ensures consistent performance during future cooking sessions.
Why does my oven have hot spots even after calibration?
Blocked airflow or aging heating elements may still create uneven heat areas.
Can rack placement affect temperature balance?
Yes, placing racks too high or low can change how heat circulates inside.
Do convection settings reduce hot spots?
Convection fans improve airflow and help maintain consistent temperature.
Should I rotate food while baking?
Rotating halfway can help if your oven heats unevenly in certain zones.
Can cookware type cause uneven cooking?
Thick or oversized pans can block airflow and create cold spots.
Common Mistakes to Avoid During Calibration
Relying only on the oven display without using a thermometer leads to inaccurate calibration results. The control panel shows the selected temperature rather than the actual heat inside the cavity. Testing with a thermometer provides the correct reference for adjustment.
Adjusting the temperature too quickly may cause the oven to swing in the opposite direction during future use. Small changes in calibration should be tested gradually to prevent overshooting the target temperature.
Rushing the process often requires repeating multiple steps and increases time spent troubleshooting.
Opening the oven door frequently during testing releases heat and affects thermometer readings. Waiting until the temperature stabilizes ensures more accurate data for calibration decisions. Consistency in testing conditions helps achieve the most reliable results throughout the procedure.
When to Call a Technician for Oven Temperature Issues

If the oven fails to heat at all or struggles to maintain temperature during cooking, professional inspection is recommended.
Faulty heating elements or internal wiring problems may cause unstable performance that cannot be fixed through calibration. Technicians have specialized tools to test electrical components safely without damaging the appliance.
Repeated calibration attempts that still result in inaccurate temperature readings indicate deeper sensor issues inside the oven.
Temperature probes may become worn or unresponsive over time due to long term exposure to heat. Replacing these parts requires skill and must follow manufacturer specifications to avoid further malfunction.
Unusual burning smells, sparking, or sudden shutoff during preheating are warning signs that require immediate attention.
Continuing to use the oven under these conditions may increase safety risks in the kitchen. Calling a certified technician ensures proper diagnosis and protects the lifespan of the appliance.
How do I know if calibration is not enough?
If temperature remains inaccurate after testing and adjustment, internal parts may be failing.
Can a faulty sensor cause inaccurate heating?
Yes, worn or damaged sensors can misread temperature and require replacement.
Should I replace heating elements myself?
No, replacement involves electrical risk and should be handled by a technician.
Why does my oven shut off during preheating?
Overheating or electrical faults may trigger safety controls inside the appliance.
Is repair cheaper than buying a new oven?
It depends on the model age and damage, but technicians can provide cost estimates.
Tips to Maintain Accurate Oven Temperature Long Term
Preheating the oven fully before placing dishes inside helps maintain stable temperature throughout cooking. Opening the door too early causes heat loss that forces the oven to reheat repeatedly and creates uneven results. Waiting a few extra minutes ensures consistent performance across different recipes.
Cleaning temperature sensors gently prevents residue buildup that interferes with heat detection. Grease and burnt particles may cause the oven to run hotter or cooler than intended.
Regular maintenance keeps the internal components functioning as designed for reliable temperature control.
Using the correct cookware size allows heat to circulate efficiently inside the cavity. Overcrowding the oven increases cooking time and forces the appliance to work harder.
Small adjustments in cooking habits support long term temperature accuracy and reduce the need for frequent calibration.
Conclusion
Calibrating an oven ensures the temperature matches the number shown on the control panel for reliable cooking results.
Testing with an oven safe thermometer provides accurate data that guides the adjustment process correctly. Small changes made gradually help restore proper heating without stressing internal components.
Recognizing signs of inaccurate temperature prevents burnt or undercooked dishes from becoming common kitchen problems.
Regular maintenance, careful rack placement, and proper cleaning support consistent performance throughout the appliance’s lifespan. When calibration is no longer effective, seeking professional assistance ensures safety and preserves long term functionality.
With the right approach, you can maintain accurate oven temperature and enjoy perfectly baked and roasted meals every time. Simple testing and careful adjustments make a noticeable difference in daily cooking success and kitchen confidence.
I’m Emma J. Caldwell, the founder, lead writer, and home-cooking enthusiast behind KitchenGuideCo.com. With a background in culinary arts and over a decade of cooking experience in both professional and personal kitchens, I created this platform to demystify recipes, offer smart kitchen gadget reviews, and guide readers through meal prep with confidence and clarity.