Don’t let a leaky pressure cooker ruin your meal—a faulty gasket is usually the culprit, and fixing it is surprisingly easy! This guide shows you how to quickly identify and resolve common gasket issues, from simple cleaning and proper seating to knowing when a replacement is necessary. Keep your cooker safe and efficient by addressing leaks today with these straightforward steps.
Stop Leaks how to fix pressure cooker gasket today easily
Ever had that heart-sinking moment when your pressure cooker starts hissing steam from the lid, not just the vent? Yep, we’ve all been there. It’s a classic kitchen drama, often playing out just when you’re trying to get dinner on the table. Most of the time, the culprit is your trusty gasket – that rubbery ring around the lid. The good news? Learning how to fix pressure cooker gasket issues is usually super simple and can save you from buying a new pot or stressing over a ruined meal. Let’s get that cooker back in tip-top shape!
So, what’s the real deal with fixing a pressure cooker gasket when it starts leaking?

Don’t panic when you hear that unexpected hiss or see steam escaping from the side! That leaky moment might seem dramatic, but often, the fix for your pressure cooker gasket is surprisingly straightforward. Think of your gasket as the unsung hero, creating that vital airtight seal. When it fails, the pressure can’t build properly. Here’s my go-to troubleshooting guide, born from years of kitchen adventures:
First things first, always make sure your cooker is completely cool and depressurized before you do anything. Safety first, always!
- Start with a Quick Visual Check & Basic Alignment:
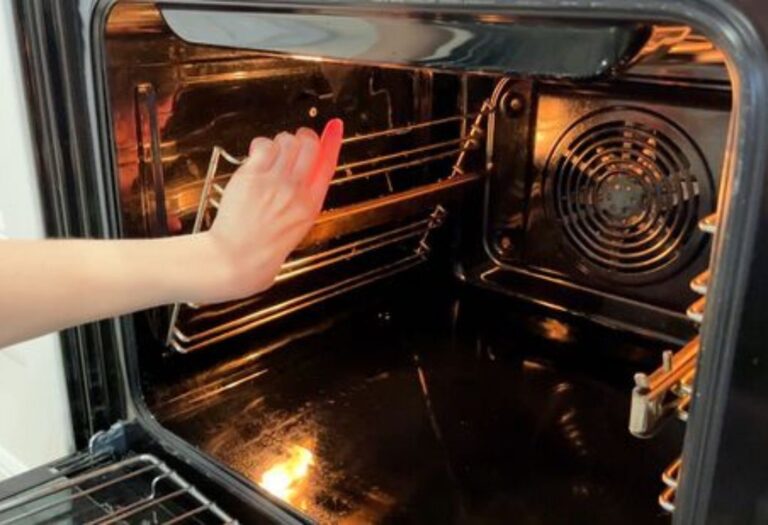
Sometimes, the simplest things are overlooked. I remember one busy evening, my cooker was hissing, and I was convinced the gasket was shot. Turns out, I just hadn’t seated the lid correctly! Make sure the lid is perfectly aligned and locked into place. Also, check around the rim for any food debris. A tiny piece of rice or a pea stuck in the groove can prevent a good seal. - Give Your Gasket and Groove a Good Clean:
My grandma always said “a clean kitchen is a happy kitchen,” and that absolutely applies to your gasket. Food bits, grease, or even hard water deposits caught in the lid’s groove or on the gasket itself are notorious leak-starters. Remove the gasket and wash it thoroughly with warm, soapy water. While it’s out, wipe down the rim of the cooker and the gasket groove in the lid. Ensure everything is completely dry before putting it back. This simple step often solves a surprising number of leaks and is crucial for learning how to fix pressure cooker gasket problems effectively. - Inspect the Gasket for Wear and Tear:
This is where you become a gasket detective. Hold your clean gasket up to the light. Does it look stretched out or deformed? Is it hard and brittle instead of soft and flexible? Are there any tiny cracks, nicks, or tears anywhere? I once overlooked a small tear, and boy, did my lentils take forever to cook because the pressure kept escaping! If it’s lost its elasticity, feels stiff, or has visible damage, it’s definitely time for a new one. - Consider a Little Lubrication (Sometimes Helps):
For slightly stiff but otherwise undamaged gaskets, a thin smear of cooking oil (vegetable or mineral oil) can sometimes bring it back to life and help it seal better. Think of it like a moisturizer for your cooker’s gasket. Just a tiny bit, wiped on with a paper towel, can make a difference. - Replacement is the Ultimate Fix for a Worn Gasket:
If your gasket is truly worn out – stretched, hardened, or cracked – trying to ‘fix’ it permanently is like trying to mend a worn-out shoe sole. It’s just not going to work long-term. The most reliable solution for how to fix pressure cooker gasket issues in this scenario is simply to replace it.
When buying a new gasket: Always make sure you buy the exact right size and brand for your specific pressure cooker model. I learned this the hard way trying to fit a generic gasket once – total fail, and I wasted precious cooking time. Check your cooker’s manual or look for the model number on the bottom of the pot.
Installation Tips for a New Gasket: When you put a new one in, make sure it’s not twisted. Give it a gentle stretch and settle it evenly into the groove. It should sit snugly but not be forced. It should feel smooth and even all the way around.
The Test Run: After any gasket maintenance or replacement, always do a water-only test run. Add about 2-3 cups of water to your cooker, close the lid, and bring it to pressure. Listen and watch carefully. Better to find a leak with just water than with your precious stew or curry!
See? Learning how to fix pressure cooker gasket issues isn’t rocket science. With a little TLC, a keen eye, and the right steps, you can avoid unnecessary replacements and keep enjoying those quick, delicious meals. So next time your pressure cooker acts up, you’ll know exactly what to do. Happy cooking!