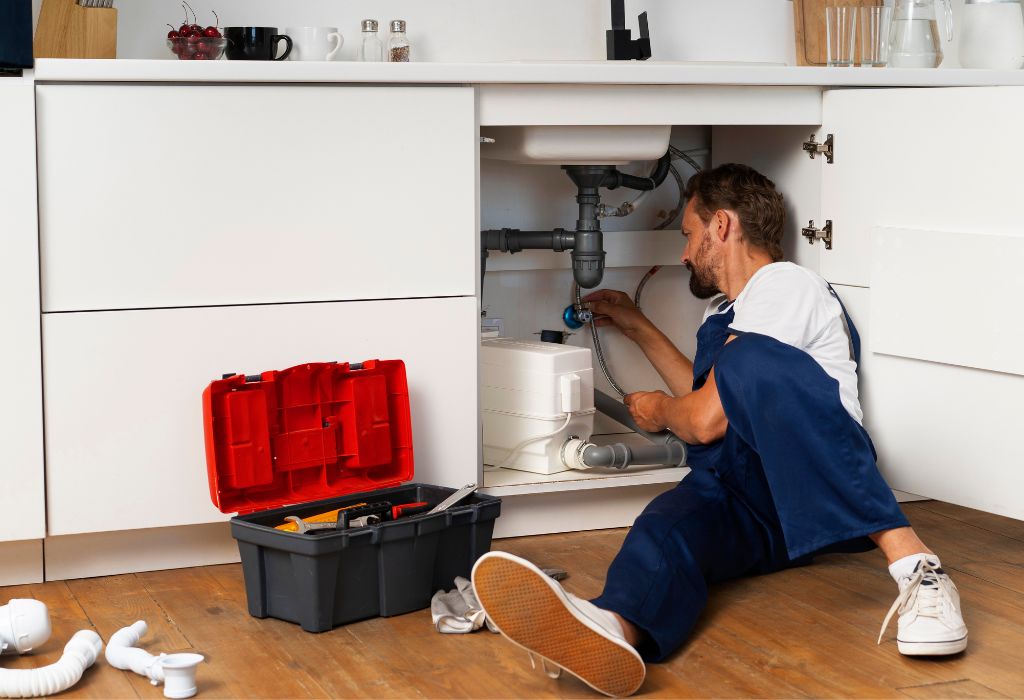
A dishwasher is only as reliable as its drainage system. Even the best models can leak, clog, or backflow if the drain pipe isn’t installed correctly.
Whether you’re replacing an old unit or setting up a brand-new one, learning how to install a dishwasher drain pipe properly can prevent long-term water damage, foul odors, and costly repairs.
Most leaks occur not because of faulty appliances, but because of incorrect hose positioning, loose clamps, or missing air-gap safeguards.
The drain line is the lifeline of your dishwasher, it removes wastewater after every cycle and prevents dirty water from re-entering the tub. Getting this connection right means your dishwasher will drain smoothly, operate quietly, and stay free of contamination.
Modern dishwashers are engineered with flexible, heat-resistant hoses that can connect to a sink drain tailpiece or garbage disposal. But for that connection to remain watertight, it must be secured, looped correctly, and tested under pressure.
The process requires only a few tools and a steady hand, but understanding the technical sequence makes all the difference.
In this comprehensive guide, we’ll walk through how to install a dishwasher drain pipe without leaks, discuss the role of air gaps and high loops, highlight materials you’ll need, and cover the most common mistakes homeowners make.
By the end, you’ll be able to complete the installation confidently and ensure your dishwasher performs flawlessly for years to come.
Understanding the Dishwasher Drainage System
The dishwasher drain system is designed to remove wastewater efficiently while preventing contamination. It typically consists of a drain hose, a sink or disposal connection, and a backflow prevention feature.
The hose itself is made from flexible plastic, usually 5/8 inch or 3/4 inch in diameter, and connects the dishwasher’s drain pump outlet to your home’s plumbing.
When the dishwasher enters its drain cycle, the internal pump forces water through this hose into the sink’s tailpiece or garbage disposal. If installed improperly—too low, too loose, or without an air gap—dirty water can flow back into the machine.
That’s why every modern installation requires a high loop or air-gap setup to create a physical barrier against backflow.
Air gaps are small fittings mounted near the sink that vent any returning water safely into the sink rather than the dishwasher.
High loops, on the other hand, use elevation—looping the hose up under the countertop—to achieve the same effect. Both prevent siphoning, which is a common cause of foul odors and poor drainage.
A properly configured drain system not only eliminates leaks but also ensures compliance with plumbing codes. Understanding how this system functions before beginning installation will save you time and protect your kitchen from hidden water damage.
Tools and Materials You’ll Need
Preparation is critical for a leak-free drain installation. Gather all required tools and materials before starting:
- Adjustable wrench and pliers
- Screwdriver set (flat and Phillips)
- Bucket and towels for catching residual water
- Utility knife for trimming hoses
- Stainless-steel hose clamps
- Air-gap fitting or high-loop bracket
- Teflon tape and silicone sealant
- Flashlight or work light
For plumbing connections, choose a high-quality dishwasher drain hose—preferably one with a smooth interior that resists buildup. If connecting to a garbage disposal, ensure it has a dedicated inlet port for the dishwasher hose. Many disposals come sealed with a plastic knockout plug that must be removed before connection.
Having all tools and fittings ready before you begin eliminates interruptions and allows you to maintain control during tightening and testing, greatly reducing the risk of leaks later on.
Preparing the Space for Installation
Before routing the new drain pipe, clear the cabinet space between your dishwasher and sink. Remove cleaning supplies or obstacles that might interfere with the hose path. Examine the cabinet wall for an existing access hole; if none exists, drill one using a hole saw slightly larger than the drain hose diameter.
Check that the area is dry and free of mold or damage from past leaks. It’s also a good time to inspect the sink drain tailpiece or garbage disposal inlet to make sure they are corrosion-free and securely fastened. Replacing an aging metal tailpiece or cracked disposal port before installation prevents future leaks.
If you’re reusing an old hose, examine it for brittleness or discoloration—signs of heat damage or soap residue. In most cases, it’s better to install a new one since drain hoses are inexpensive compared to the potential cost of water damage.
Once the area is prepped, ensure that both the water supply and electrical power to the dishwasher are turned off. A clean, clear workspace ensures safe handling of the hose and prevents accidental pinching or kinking when sliding the appliance back into place.
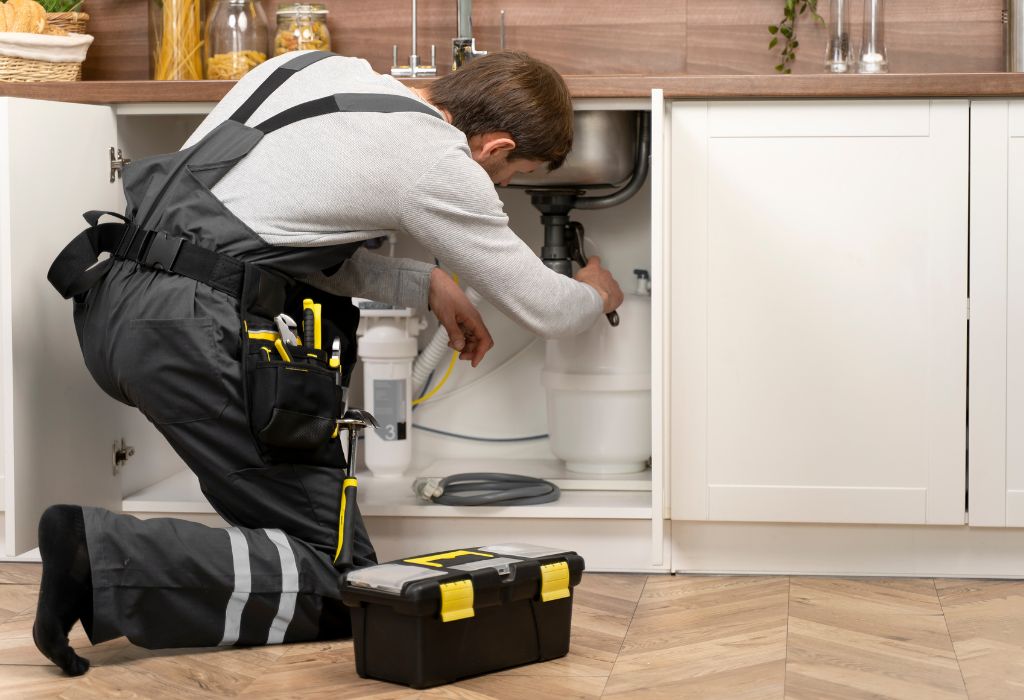
Connecting the Drain Hose to the Dishwasher
Most dishwashers come with a factory-mounted drain outlet near the bottom rear corner. Start by attaching one end of the new hose to this outlet.
The connection is usually secured with a spring clamp or screw-type hose clamp. Slide the clamp onto the hose before fitting it onto the outlet, then tighten it snugly with a screwdriver or pliers.
Ensure that the hose is fully seated on the fitting. A loose attachment is one of the most common causes of early leaks.
Once the connection is secure, feed the hose through the cabinet access hole toward the sink base. Keep the hose elevated slightly to avoid dragging or bending it sharply, as this can restrict flow.
If your dishwasher includes a check valve or backflow fitting near the outlet, make sure it’s properly aligned according to the manufacturer’s diagram.
The valve prevents water from flowing backward when the pump stops. Skipping this small step can lead to repeated draining errors or moisture buildup inside the dishwasher base.
Before moving on, check the length of the hose. There should be enough slack to slide the dishwasher in and out for servicing, but not so much that the hose coils or sags, which can trap dirty water.
Installing a High-Loop or Air-Gap System
Backflow prevention is the most crucial aspect of drain-pipe installation. Without it, wastewater can siphon back into the dishwasher, bringing food particles and bacteria with it. There are two code-approved methods: the high loop and the air gap.
To create a high loop, fasten the drain hose underneath the countertop using a clamp or mounting bracket.
The loop should reach as high as possible—typically 32 to 36 inches from the floor—before descending toward the sink drain connection. This elevation uses gravity to keep dirty water from traveling backward.
If you prefer or are required by local code to install an air-gap, mount the fitting on the sink or countertop. Connect the dishwasher hose to the smaller port and a secondary hose from the larger port to the sink drain or disposal.
The air-gap device ensures that even if the drain becomes blocked, wastewater will discharge safely into the sink instead of flooding the appliance.
Both methods achieve the same purpose, but air gaps are mandatory in many municipalities. Confirm your local plumbing code before deciding which approach to use. Either system, when installed correctly, ensures your dishwasher remains sanitary and leak-free.
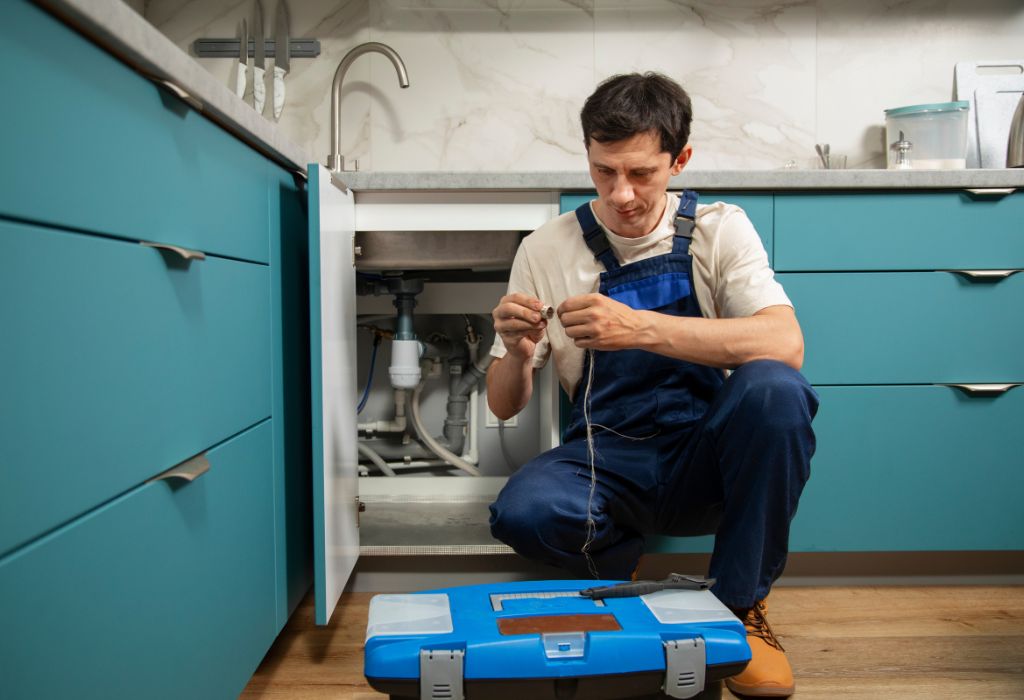
Connecting to the Sink Drain or Garbage Disposal
The final connection completes the drainage path. If you’re connecting directly to a sink tailpiece, attach the hose to the dishwasher branch nipple located above the P-trap.
Slide a stainless-steel clamp over the hose end, push the hose onto the nipple, and tighten firmly. Apply a thin layer of silicone sealant for extra protection against leaks.
For connections to a garbage disposal, first remove the plastic knockout plug from the dishwasher inlet port.
Insert a screwdriver into the inlet and tap gently with a hammer until the plug dislodges, then retrieve it from inside the disposal. Failure to remove this plug will cause your dishwasher to back up during the first cycle.
Once the plug is removed, attach the hose and secure it with a clamp. Check that the hose runs downhill slightly from the high loop or air-gap to promote proper drainage. Avoid sagging sections or sharp turns.
Before testing, place a dry towel beneath all fittings—this will help you spot leaks during the first drain cycle.
Securing and Positioning the Hose
After connecting both ends, verify that the drain hose follows a smooth path from the dishwasher to the sink area without being pinched or stretched. Push the appliance slowly into its final position while guiding the hose through the access hole.
Ensure the hose does not rub against sharp cabinet edges, which could cause wear over time. If the hose passes near electrical wiring, use protective sleeves to prevent friction. Maintain at least a two-inch gap from any hot-water supply line to avoid heat damage.
Once in position, secure the high-loop clamp or air-gap hoses firmly. Movement during operation can loosen fittings and create leaks months later. A well-anchored hose not only prevents vibration but also keeps the dishwasher quiet and efficient.
Testing for Leaks and Proper Flow
Testing is the most important part of the job. Start by restoring water and power. Run a short rinse or quick wash cycle to observe the fill and drain phases. Watch closely under the sink for moisture at connection points. If any drips appear, tighten the clamps slightly or re-apply sealant where necessary.
During the drain phase, ensure water flows smoothly through the hose and into the sink or disposal without gurgling or backflow. Listen for the pump sound—it should be steady, not strained. If you notice slow draining, check for kinks or a sagging loop in the hose.
After one full cycle, inspect the cabinet floor and the underside of the countertop. Everything should remain completely dry. Once confirmed, replace the cabinet panels and secure the dishwasher base plate. Your drain system is now leak-free and ready for long-term use.
Maintenance Tips for Leak Prevention
Even a perfectly installed system can develop leaks over time without maintenance. Inspect the drain hose annually for cracks, hard spots, or discoloration. Replace it every five to seven years, especially if you live in an area with hard water.
Keep the air-gap or high loop free of debris. Food particles can collect near the fittings and cause slow drainage. Occasionally remove the air-gap cover and rinse it with warm water.
When cleaning your sink drain or disposal, avoid using harsh chemical cleaners while the hose is attached. These chemicals can corrode the plastic lining of the dishwasher hose. Instead, flush the drain with hot water and vinegar to break down grease naturally.
Finally, always run the garbage disposal for a few seconds before starting your dishwasher cycle—this clears the drain path and prevents backup pressure that could lead to leaks.
Common Mistakes to Avoid
Many DIY installations fail due to avoidable errors. The most common mistake is forgetting to remove the garbage disposal knockout plug, which immediately causes drainage failure.
Another frequent issue is placing the drain hose too low or without a high loop, leading to backflow and odor problems.
Over-tightening clamps can cut into the hose, while under-tightening leaves fittings loose. Always use moderate, even pressure. Avoid routing the hose alongside hot-water pipes, as heat can soften plastic and create weak points over time.
Using cheap hoses or mismatched connectors also increases leak risk. Always choose components rated for dishwasher use, with heat-resistant and pressure-tested certification.
By double-checking these details before running your first cycle, you’ll prevent 90 percent of the issues that commonly lead to leaks or flooding.
Top Questions Homeowners Ask About Installing a Dishwasher Drain Pipe
Why does my dishwasher drain hose need a high loop?
It prevents wastewater from siphoning back into the dishwasher by using gravity to maintain one-way flow.
Can I connect the drain hose directly to a floor drain?
No, always connect it to a sink drain or disposal to meet plumbing codes and prevent sewer gas exposure.
Is an air-gap better than a high loop?
Both prevent backflow, but air gaps offer absolute protection and are required by many local codes.
Can I reuse my old drain hose?
Only if it’s clean, flexible, and free from cracks; otherwise, replace it to ensure a reliable seal.
Why does my dishwasher drain slowly after installation?
The hose may be kinked, sagging, or installed without enough downward slope toward the drain.
Do I need plumber’s putty or Teflon tape?
Use Teflon tape on threaded fittings; plumber’s putty is not recommended for hose connections.
What happens if I forget to remove the disposal knockout plug?
The dishwasher will not drain properly, and water may flood into the base pan during the first cycle.
Can I run the dishwasher and disposal simultaneously?
Yes, as long as both are installed correctly and share the drain in compliance with code.
Why do I hear gurgling noises during draining?
It often means trapped air in the hose or partial blockage in the disposal port.
How often should I replace the drain hose?
Replace it every 5–7 years or immediately if you notice stiffness or discoloration.
Can I extend the hose if it’s too short?
Yes, with an approved extension kit, but avoid excessive length that reduces flow efficiency.
What’s the ideal height for a high-loop?
At least 32 inches from the floor to the top of the loop, positioned under the countertop.
Do all dishwashers need an air gap?
Not all, but many regions require them by law; check your local building code.
Why is there water leaking at the sink connection?
The clamp may be loose or misaligned; tighten and reseal the joint with silicone.
Can improper drainage damage my dishwasher?
Yes, standing water causes odors, mold, and can shorten pump life dramatically.
Conclusion
Installing a dishwasher drain pipe without leaks requires more than just tightening a few clamps—it demands precision, planning, and understanding how water moves through the system.
By following the correct methods, using quality materials, and observing code-approved practices such as high loops or air gaps, you ensure years of reliable, trouble-free operation.
A leak-free installation is a reflection of attention to detail. Every fitting, slope, and seal plays a role in maintaining sanitary drainage.
Taking time to route the hose properly, test for leaks, and perform periodic maintenance prevents hidden water damage that could otherwise cost thousands to repair.
Ultimately, this is a project most homeowners can complete confidently with the right preparation.
When done correctly, your dishwasher will drain smoothly, operate quietly, and remain one of the most dependable appliances in your kitchen—proof that even professional-quality plumbing can be achieved by a careful DIY approach.
I’m Emma J. Caldwell, the founder, lead writer, and home-cooking enthusiast behind KitchenGuideCo.com. With a background in culinary arts and over a decade of cooking experience in both professional and personal kitchens, I created this platform to demystify recipes, offer smart kitchen gadget reviews, and guide readers through meal prep with confidence and clarity.