The kitchen can be a place of creativity, connection, and independence.
For special needs students, it’s also a learning ground where life skills grow.
But it’s no secret that cooking comes with risks. According to the U.S. Fire Administration, nearly 50% of home fires start in the kitchen. Add in sharp knives, hot surfaces, and heavy pots, and the stakes rise quickly.
With the right safety steps, students with disabilities can cook safely while building confidence. This guide blends practical advice, real-life scenarios, and easy-to-follow rules to keep every cooking session safe and enjoyable.
Why Kitchen Safety Is Especially Important for Special Needs Students
Every student learns differently. Some may need extra time to understand safety rules. Others might face physical or sensory challenges that make certain tasks riskier.
Simple changes in the kitchen layout, tools, and teaching style can make all the difference. Safety here is not just about preventing accidents — it’s about creating an environment where students feel empowered to participate.
According to the CDC, accidents in the kitchen account for thousands of ER visits yearly, many involving burns, cuts, or falls. The right preparation can dramatically reduce these numbers.
Why this matters: Safety training can transform kitchen work from a risky chore into a rewarding skill-building activity.
Step 1: Preparing a Safe Cooking Space
Before a lesson begins, the kitchen should be a safe, organized space.
- Keep frequently used tools within easy reach to avoid stretching or climbing.
- Remove unnecessary clutter from countertops to reduce distractions and hazards.
- Use non-slip mats under cutting boards and rugs to prevent falls.
Why is preparation so important?
It reduces the chance of accidents and allows students to focus on the cooking task instead of their surroundings.
How often should safety checks be done?
Before every session, even if the kitchen was used earlier in the day.
What’s the most common overlooked hazard?
Electrical cords hanging over edges or near water sources.
Step 2: Choosing the Right Tools
Special needs students benefit from tools that are safe, easy to grip, and appropriately sized.
- Use nylon or plastic knives for beginners to reduce the risk of cuts.
- Choose pots and pans with heat-resistant handles.
- Invest in adaptive utensils with non-slip grips for students with limited dexterity.
Are safety knives effective for real cooking?
Yes, they can cut fruits, vegetables, and soft foods while greatly reducing injury risk.
What’s the benefit of color-coded tools?
They help with memory and organization, making it easier to find and use the right item.
Should students use glassware?
Avoid unless necessary. Shatterproof alternatives are safer.
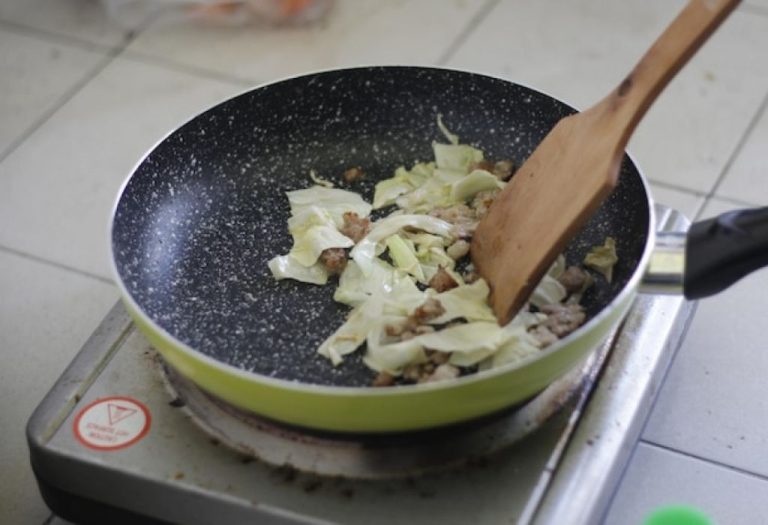
Step 3: Teaching Heat Awareness
Burns are among the most common kitchen injuries. Students need clear rules and consistent reminders about hot surfaces.
- Always use oven mitts or heat-resistant gloves.
- Keep pot handles turned inward to avoid accidental spills.
- Use visual reminders like “HOT” labels on oven doors and stovetops.
How can teachers reinforce heat safety?
By practicing “stop and check” before touching any appliance.
Do visual cues help?
Yes, bright stickers or labels make hot areas easier to identify.
What’s the safest cooking method for beginners?
Microwave or induction cooking, which reduces open flame exposure.
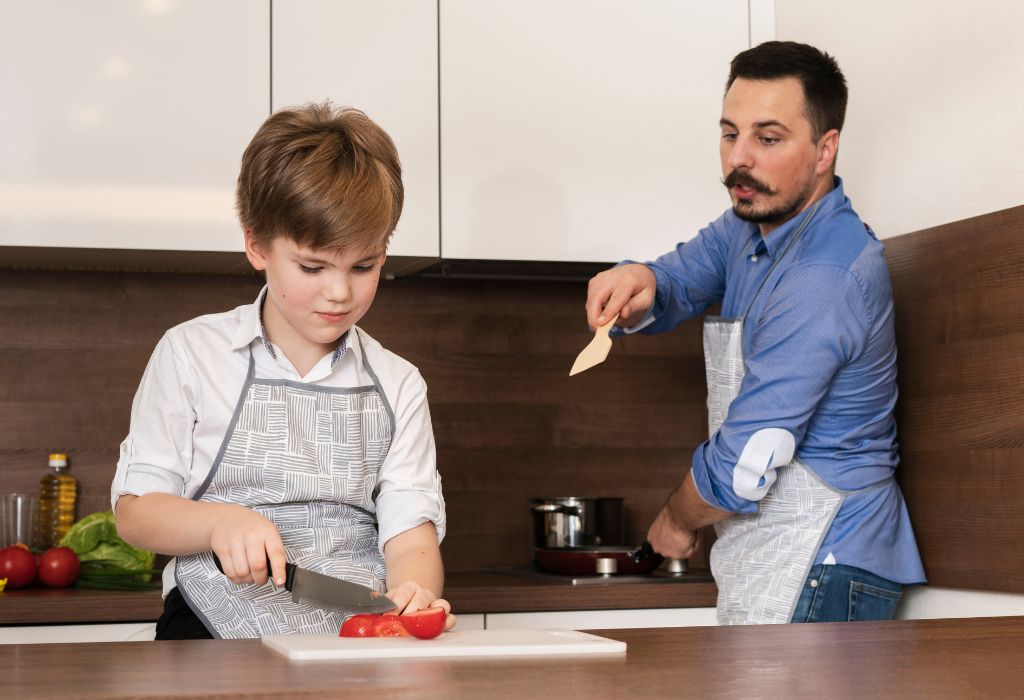
Step 4: Preventing Cuts and Injuries
Knife work can be intimidating, but it’s also a valuable skill.
- Start with soft foods like bananas or zucchini before moving to firmer items.
- Teach the “claw grip” where fingers curl under to protect fingertips.
- Use stable, damp towels under cutting boards to prevent slipping.
What’s the number one cause of knife accidents?
Dull blades — they require more force, increasing the chance of slips.
How do you store knives safely?
In a block, magnetic strip, or locked drawer out of easy reach.
Can students with coordination issues use knives?
Yes, with supervision and adapted tools.
Step 5: Safe Use of Electrical Appliances
Blenders, mixers, and toasters can be dangerous if misused.
- Always keep hands and utensils out of moving parts.
- Unplug appliances before cleaning.
- Ensure cords are kept away from water and stove heat.
What’s the safest outlet type for kitchens?
GFCI outlets that cut power during electrical faults.
Should students plug and unplug appliances themselves?
Only if they’ve been trained and can do so safely.
What’s the biggest mistake to avoid?
Operating an appliance with wet hands.
Step 6: Food Safety Basics
Safe food handling prevents illness and teaches hygiene habits.
- Wash hands for at least 20 seconds before cooking.
- Keep raw meat separate from vegetables.
- Store perishables in the fridge immediately after use.
Can cross-contamination happen without touching food?
Yes, bacteria can transfer through shared surfaces and utensils.
What’s the safe cooking temperature for chicken?
165°F (74°C).
How long can cooked food sit out?
No more than two hours — one hour if the temperature is above 90°F.
Step 7: Emergency Preparedness
Even with precautions, accidents can happen. Students should know what to do.
- Teach them where the first aid kit is located.
- Show them how to call emergency services.
- Practice basic burn, cut, and fire response steps.
Should all students learn fire extinguisher use?
Yes, with supervision and clear instructions.
Is a smoke alarm necessary in a supervised kitchen?
Absolutely. It adds an extra layer of protection.
What’s the best way to teach emergency response?
Through role-play and visual demonstrations.
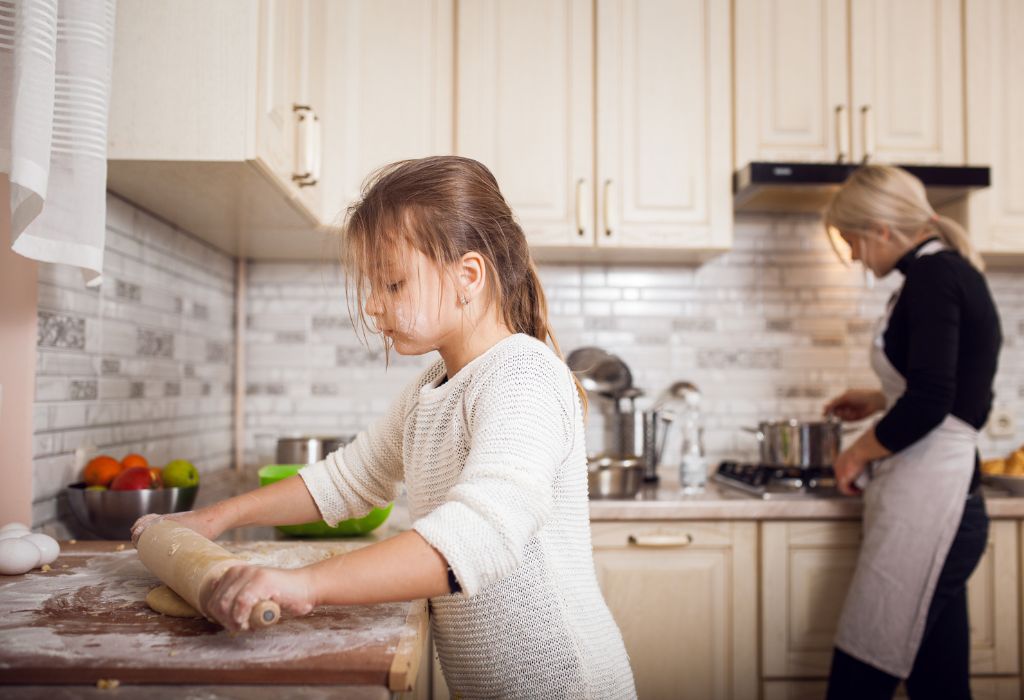
Step 8: Supervision and Support
No amount of training replaces attentive supervision.
- Keep the student within sight and hearing distance.
- Offer step-by-step guidance without overwhelming them.
- Encourage questions to promote understanding.
Does supervision mean doing the work for them?
No, it means guiding and supporting without taking over.
How can teachers balance safety with independence?
By gradually reducing assistance as the student gains skill.
What’s the benefit of peer cooking?
It fosters teamwork and makes learning social and fun.
Step 9: Building Confidence Through Practice
The more familiar students become with safety rules, the more confident they feel.
- Repeat tasks regularly until they become habits.
- Praise safe behavior to reinforce learning.
- Introduce more complex recipes as skills improve.
Why is confidence important?
Confident students are more likely to follow rules consistently.
Can repetition get boring?
Not if the recipes and tools vary over time.
What’s the best way to track progress?
Keep a simple checklist of skills learned.
Final Thoughts
Kitchen safety for special needs students isn’t about removing all risk. It’s about creating a safe space where learning, independence, and enjoyment thrive.
With the right preparation, tools, and supervision, these students can gain life skills that extend far beyond cooking. Safety builds confidence, and confidence builds independence — one safe meal at a time.
I’m Emma J. Caldwell, the founder, lead writer, and home-cooking enthusiast behind KitchenGuideCo.com. With a background in culinary arts and over a decade of cooking experience in both professional and personal kitchens, I created this platform to demystify recipes, offer smart kitchen gadget reviews, and guide readers through meal prep with confidence and clarity.