Achieving perfectly cooked meals in a pressure cooker hinges on understanding and utilizing its precise temperature capabilities. This ultimate guide unveils the science behind varying heat levels, from maintaining ideal boiling points to maximizing flavor development. Master these critical temperature insights to consistently optimize your cooking results for safe, delicious, and efficient meals.
The Ultimate Pressure Cooker Temperature Guide for Perfect Meals

Have you ever wondered about the magic happening inside your pressure cooker? It’s not just about speed; it’s about a very specific temperature that transforms your food. Knowing the ins and outs of your pressure cooker’s temperature is like unlocking a secret level in your cooking game. It truly helps you achieve consistently delicious results, from tender meats to perfectly cooked vegetables. Let’s dive into understanding this essential aspect of pressure cooking.
Q: What is the ideal pressure cooker temperature guide for achieving perfect meals every time, and how do different pressure settings affect cooking results?
A: Oh, this is such a fantastic question! Understanding the pressure cooker temperature guide is absolutely key to mastering this amazing appliance. It’s not just a guess-and-check game; there’s real science at play, and once you grasp it, your cooking will elevate beautifully.
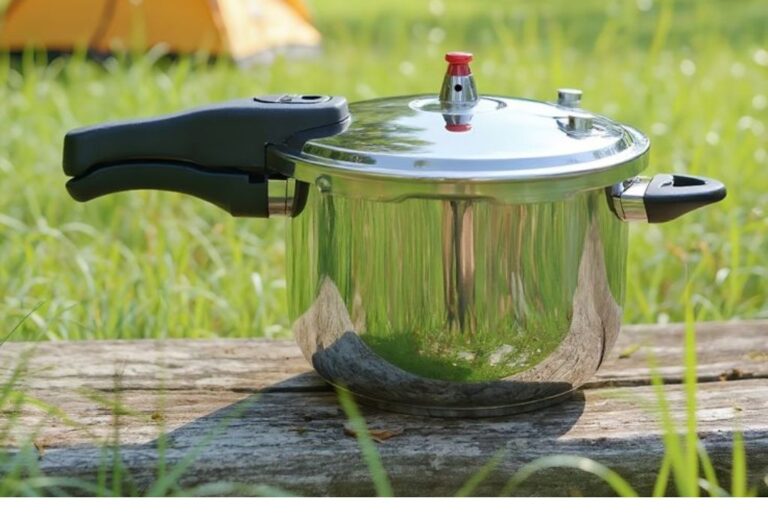
Here’s the simplest way to think about it: a pressure cooker works by trapping steam. When steam is trapped, pressure builds up. This increased pressure raises the boiling point of water from its usual 212°F (100°C) at sea level to much higher temperatures. And higher temperatures mean faster, more efficient cooking!
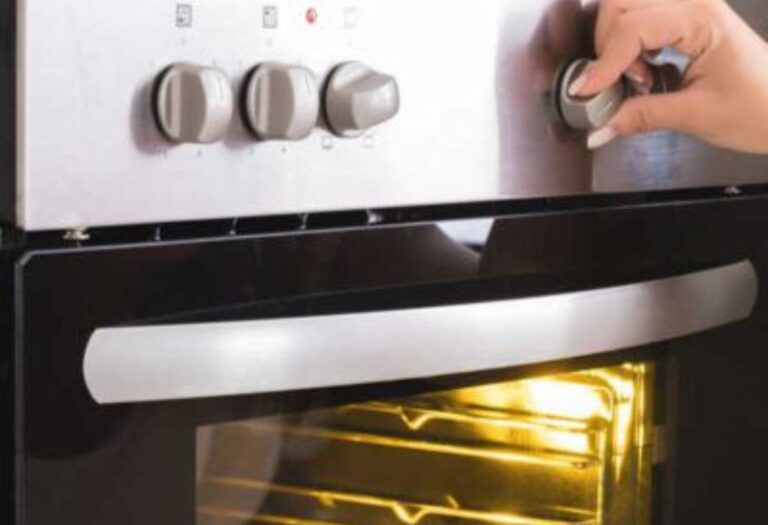
Most modern pressure cookers operate at two main settings: low pressure and high pressure. Each setting corresponds to a different internal temperature:
- Low Pressure (around 5-7 PSI): This setting typically reaches an internal temperature of about 220-225°F (104-107°C). Think of it as a gentler approach. I personally love using low pressure for delicate foods that you don’t want to overcook or turn mushy. Things like fish, tender vegetables (broccoli, asparagus), or even custards benefit greatly from this lower, more controlled heat. I once made a perfect steamed salmon using low pressure, and it was flaky and moist, not dried out at all.
- High Pressure (around 10-15 PSI): This is where most of the rapid cooking magic happens! High pressure ramps up the internal temperature to approximately 240-250°F (115-121°C). This is your go-to setting for ingredients that need serious heat to tenderize quickly. Tough cuts of meat (like beef pot roast or pork shoulder), dried beans, lentils, whole grains, and stews shine under high pressure. My family’s favorite pulled pork used to take hours; now, with high pressure, it’s fork-tender in under an hour. It truly breaks down those tough fibers efficiently.
So, why does this specific pressure cooker temperature guide matter for your meals? It’s all about control. If you’re cooking delicate green beans on high pressure, you risk them turning into a sad, tasteless pile. But if you try to cook dried chickpeas on low pressure, they might take ages to soften. Matching the food to the correct pressure setting (and thus, temperature) is paramount.
Here are a few practical tips I’ve picked up along my journey:
- Always check your manual: While the PSI ranges are standard, your specific pressure cooker might have slightly different temperature outputs or recommended settings. A quick look at your machine’s guide is always a good idea.
- Liquid is non-negotiable: Remember, pressure relies on steam, and steam comes from liquid. Never operate your pressure cooker without the minimum required liquid, usually at least one cup. This ensures proper pressure build-up and temperature.
- Altitude adjustments: If you live at a high altitude, water boils at a lower temperature naturally. This means your pressure cooker will also reach its specified PSI at a slightly lower temperature. You might need to add a few extra minutes to your cooking times to compensate. It’s a small but important detail!
- Natural vs. Quick Release: How you release the pressure also affects the final temperature and doneness. Natural release allows the temperature to drop slowly, continuing to cook the food gently. Quick release stops the cooking abruptly. I use natural release for meats (to keep them tender) and quick release for veggies (to prevent overcooking).
Mastering this pressure cooker temperature guide truly unlocks a world of delicious possibilities. It’s about being intentional with your settings to get the best out of every ingredient. You’ll be amazed at the consistent quality of your meals!